Ergonomic joy-con Grip
DIY Design and Fabrication, Spring 2020
Purpose: explore and design a new, ergonomic handle for an existing product.
Background: I chose to create a grip for a Nintendo switch joy-con controller. The controllers can be detached to play in a variety of different ways. The user can play with either both joy-cons, similar to a traditional controller, or a single joy-con turned horizontally. The system is sold with a grip for two controllers; however, a single joy-con is difficult to grip and is hard to reach all the buttons and lacks the ergonomic grip of a traditional controller.

Using a single joy-con horizontally.
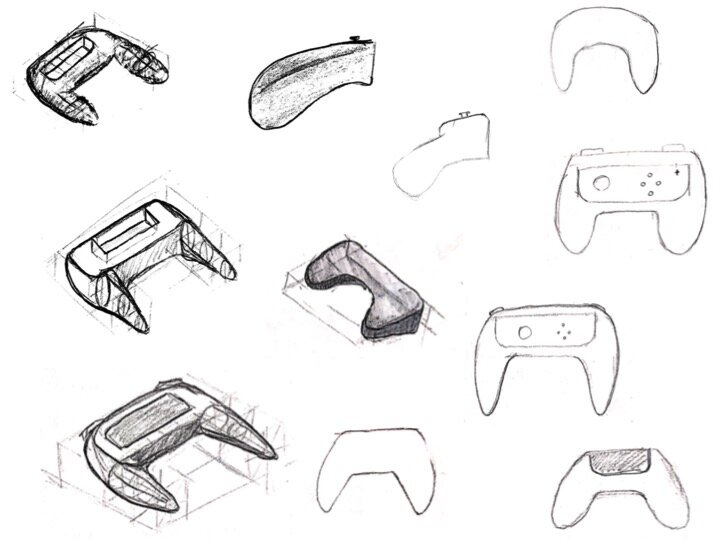
Sketches of initial design concepts. Modeled after Xbox, GameCube, and PS4 controllers.
Initial Prototyping

Laser cut wood support structure

Application of clay onto support structure.

Finished model. After experimenting with joy-con placement, I decided to 3D print a new support structure so the controller could sit flush with the surface.

Wooden support for second iteration. Since the first 3D printed prototype did not fit correctly over the joy-con, I attempted to mold over the wood while reprinting.
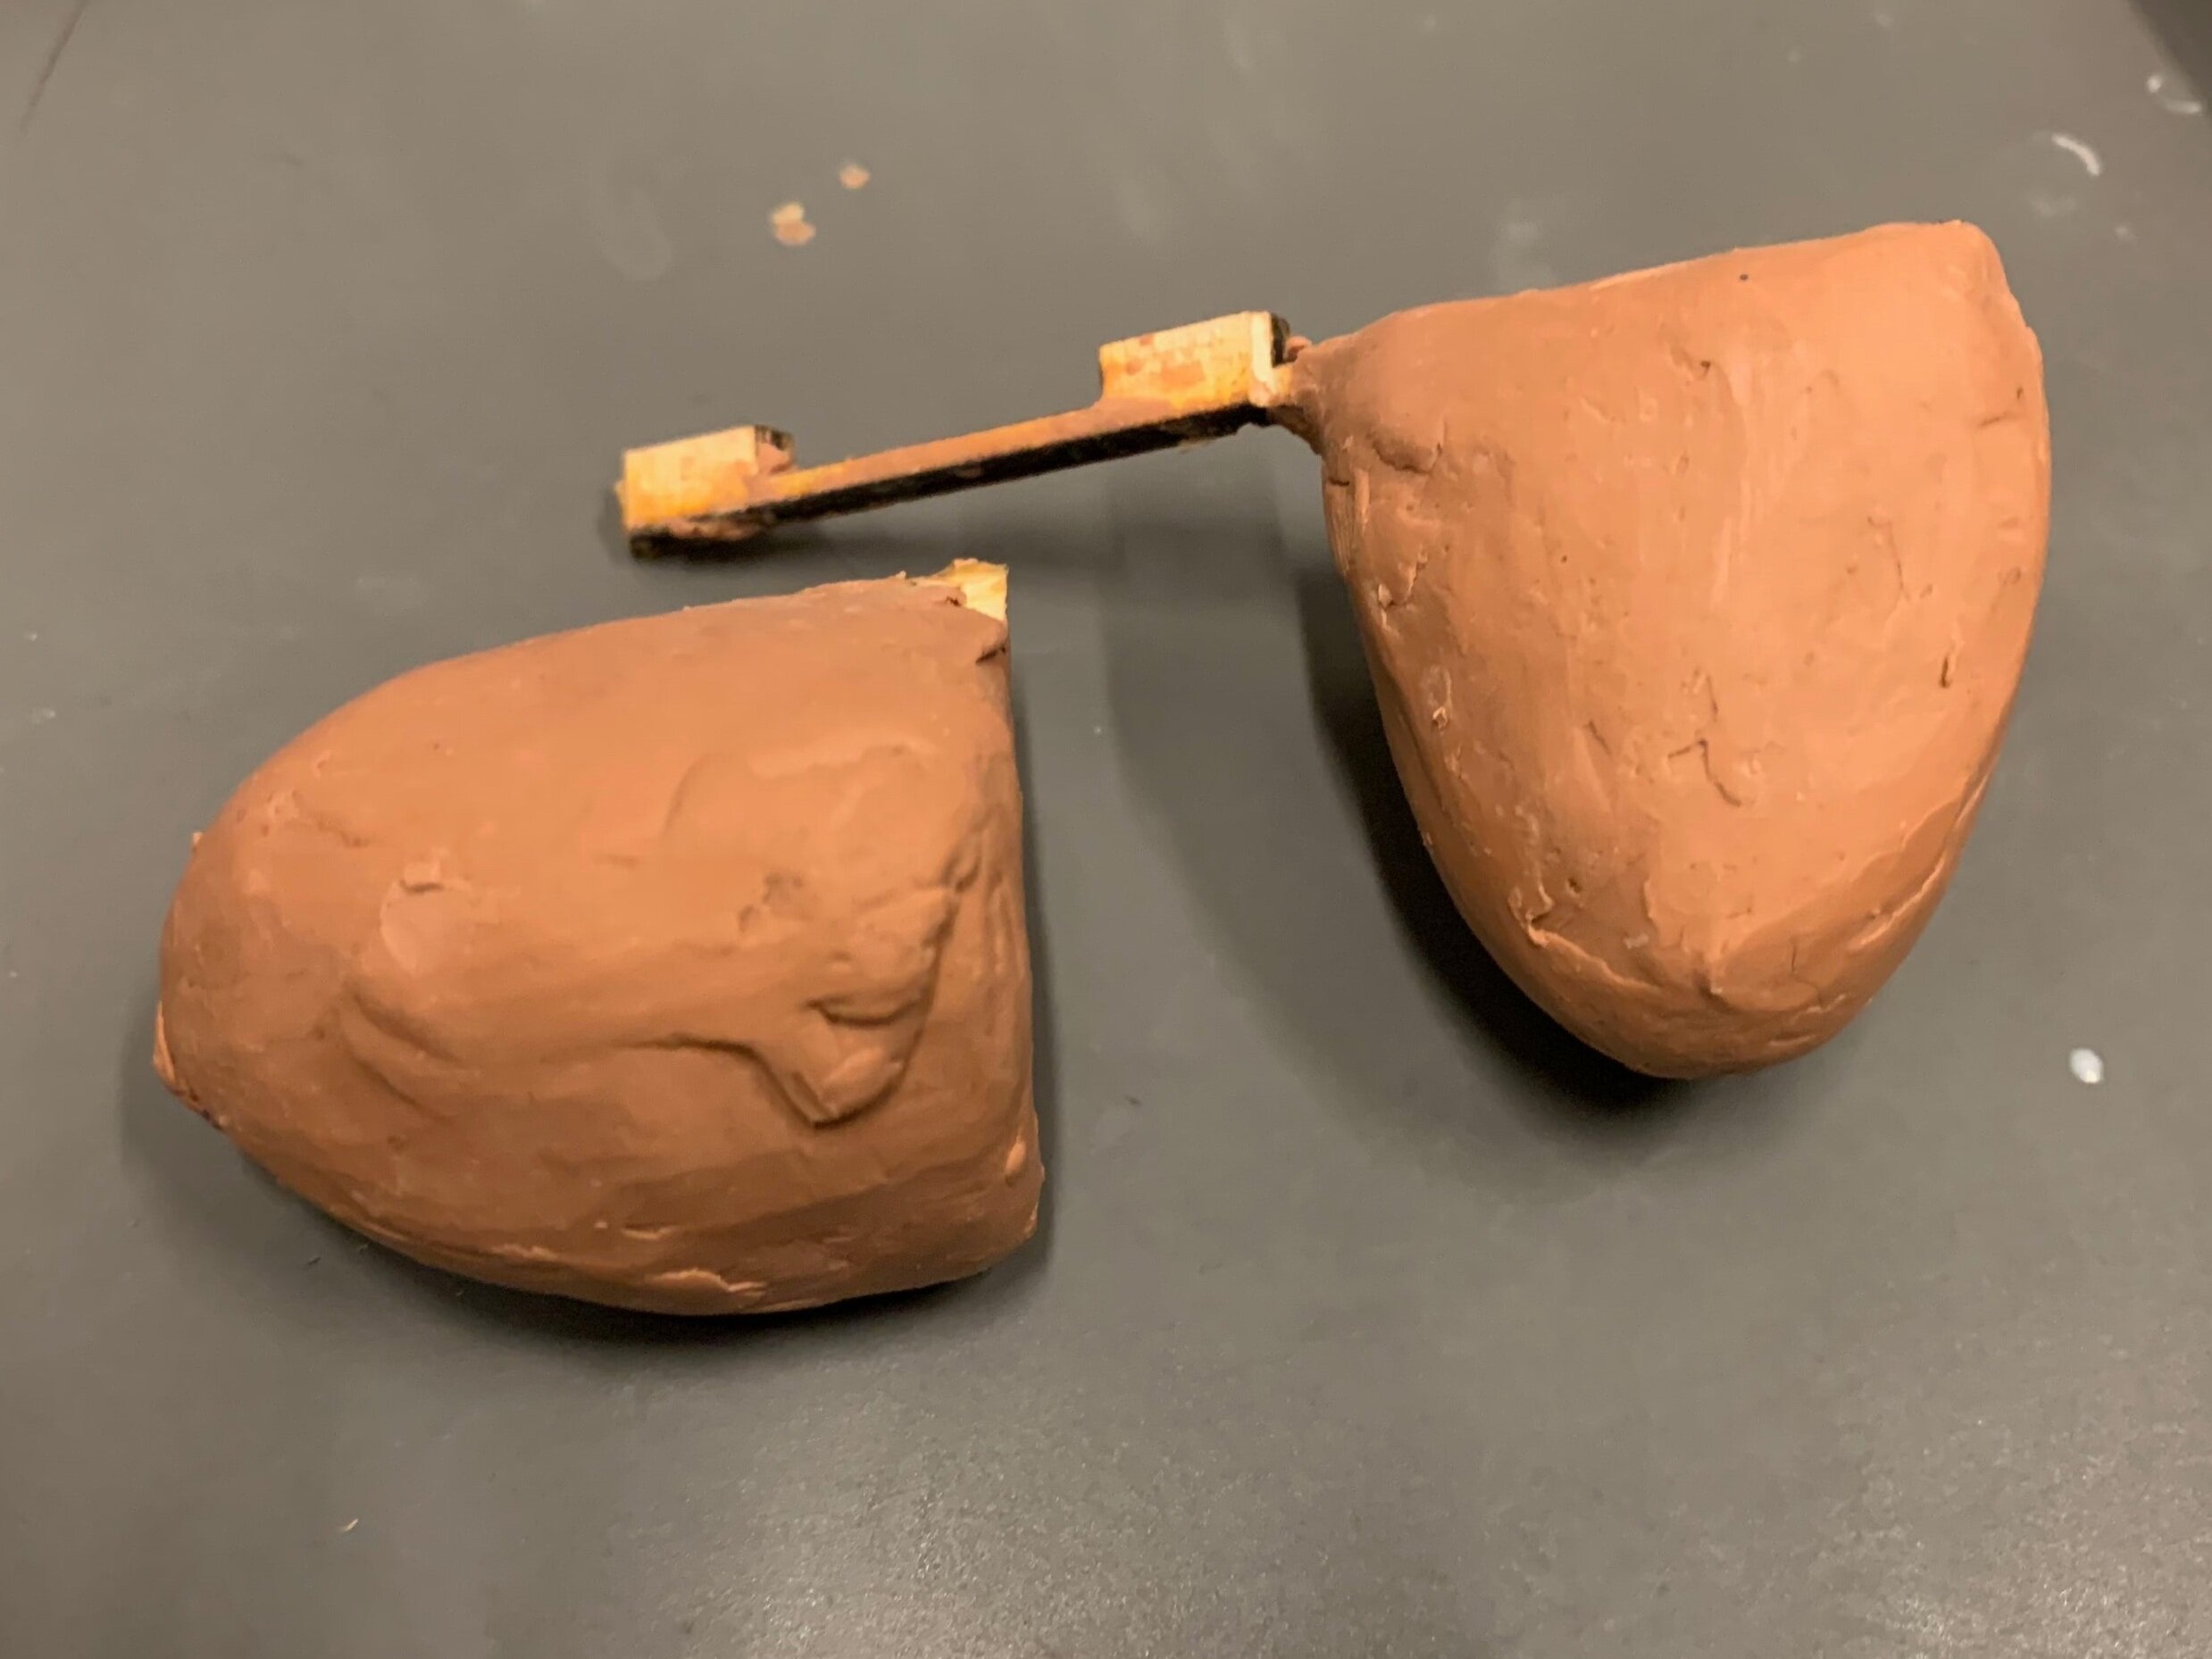
Without the support of the 3D printed piece, the wooden support snapped.
Final CLAY Model

Support structure. 3D printed ABS forms a snap fit around the joy-con, with laser-cut acrylic.

Model after smoothing with tools.
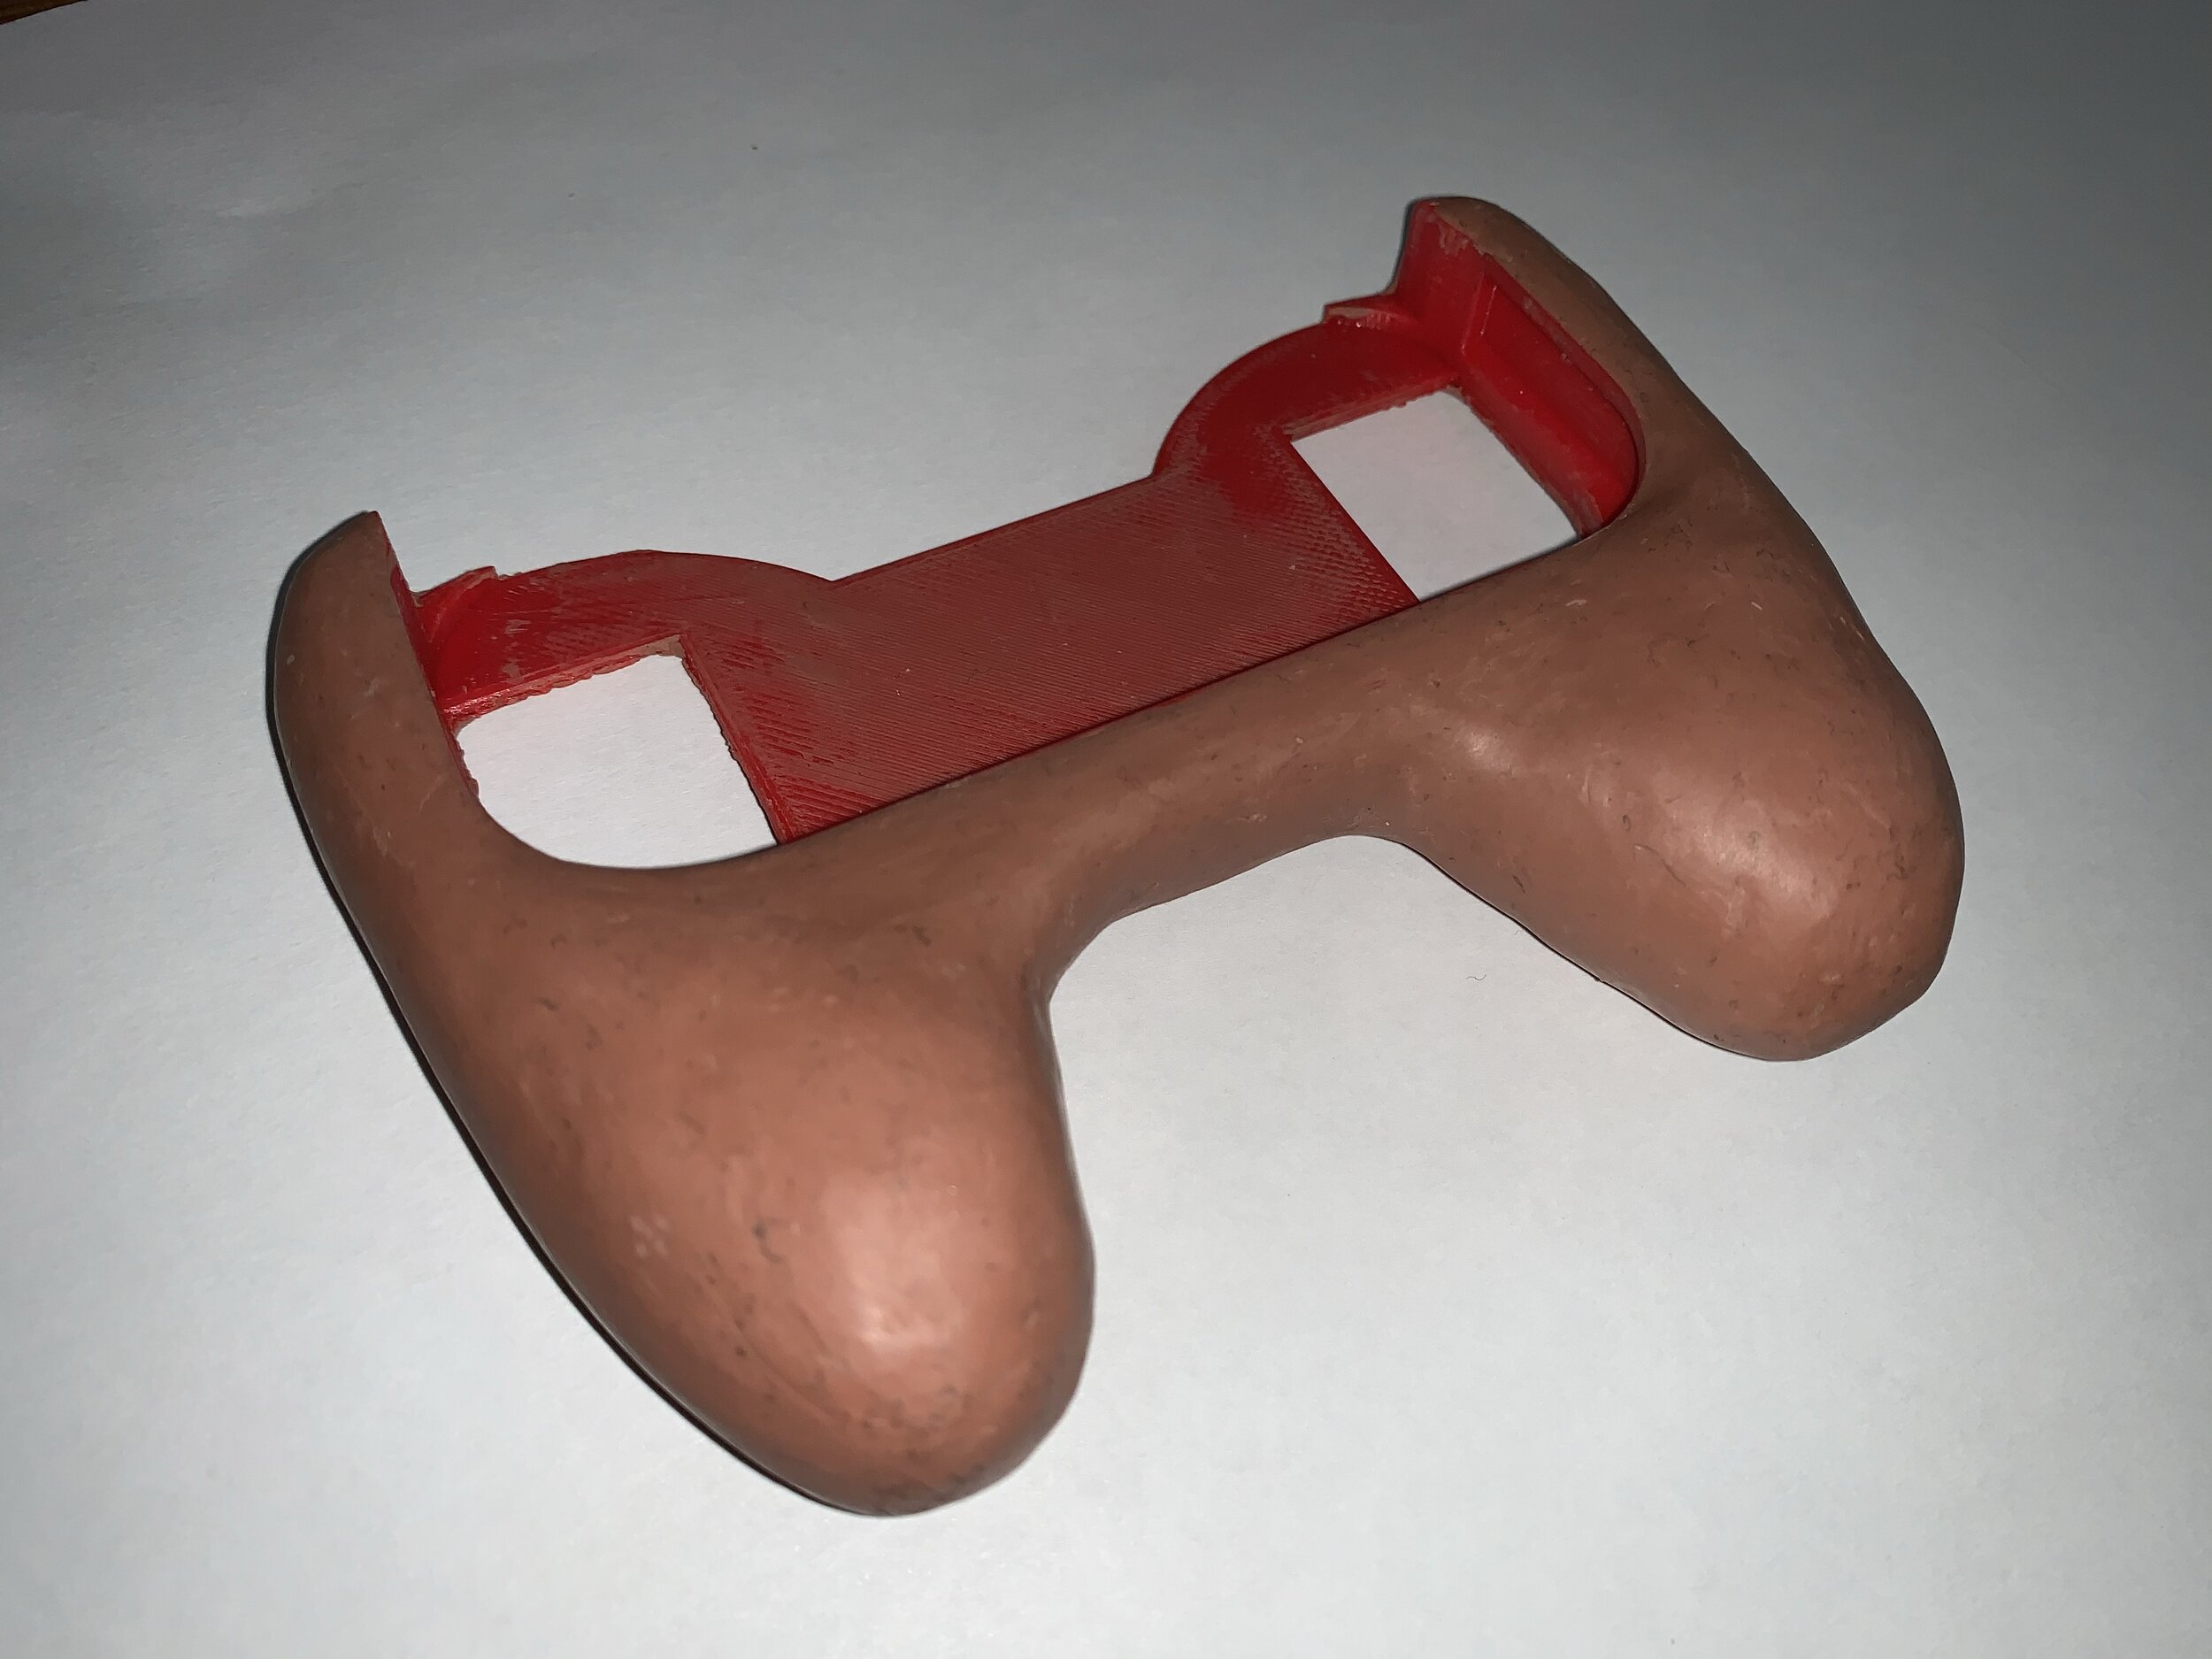
Finished clay model.

Model after initial layer of clay.
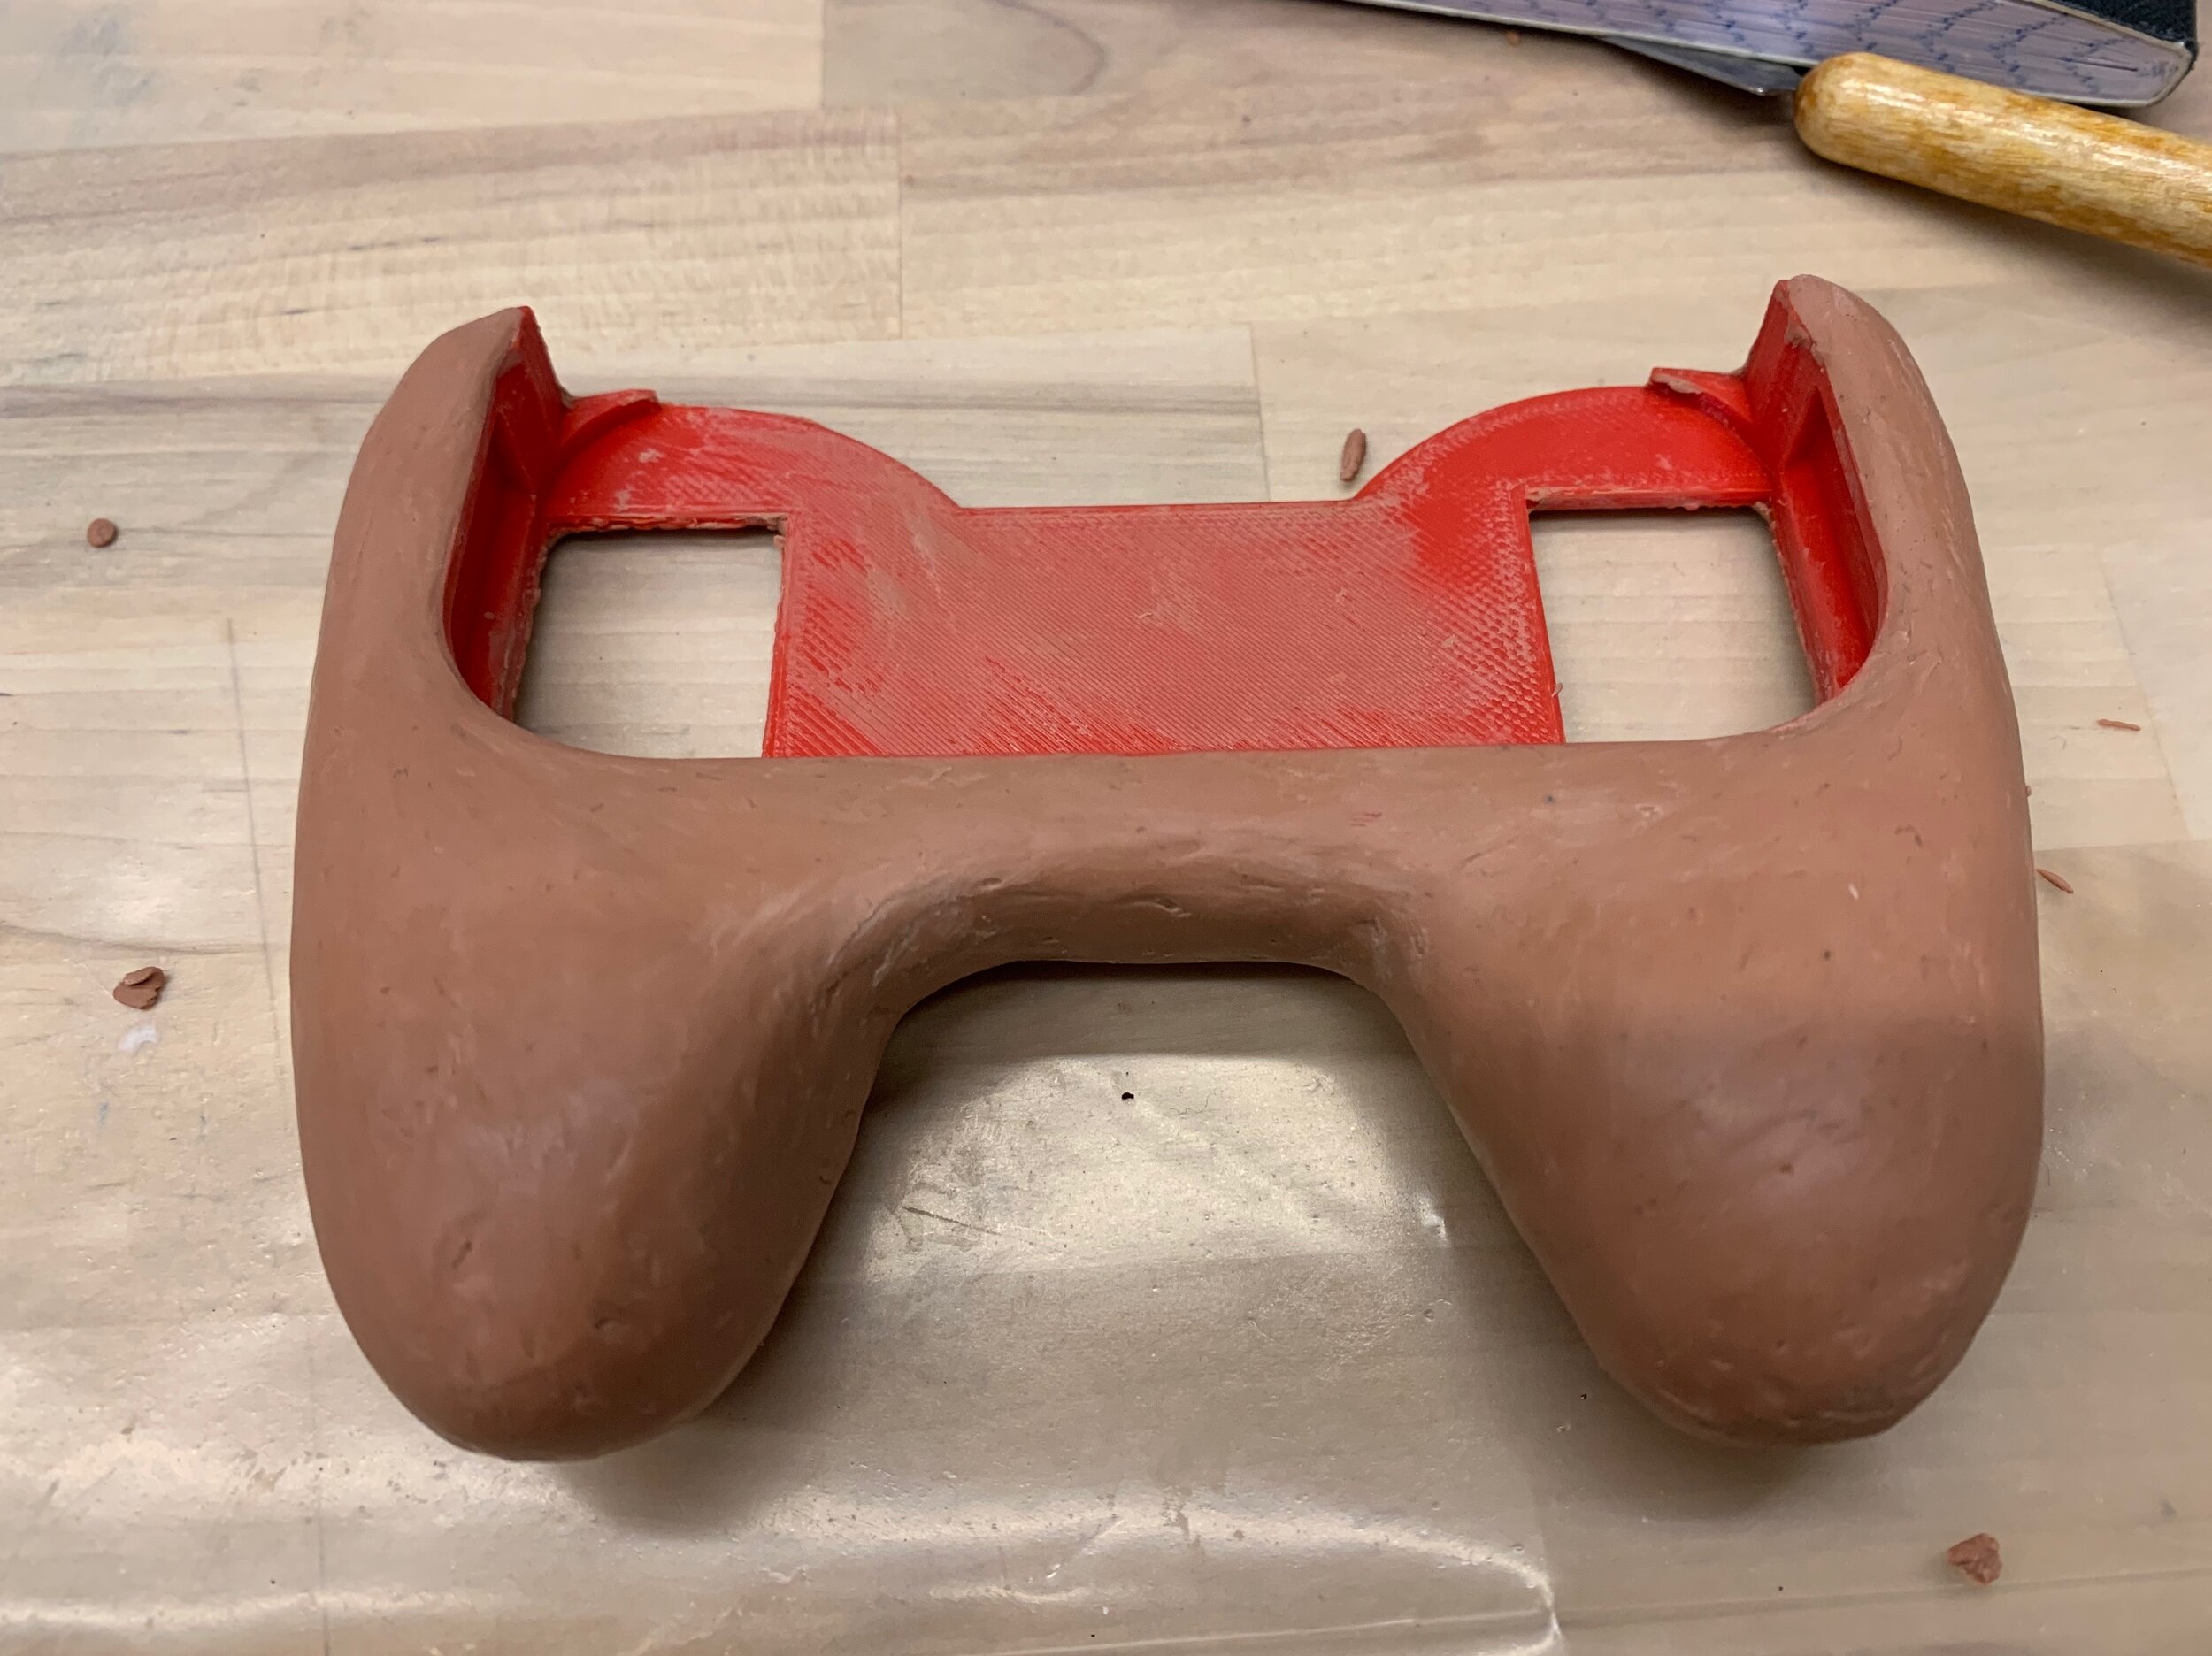
Model after smoothing with damp sponge.

Testing final model.

Side by side comparison of original joy-con and ergonomic grip.
Casting
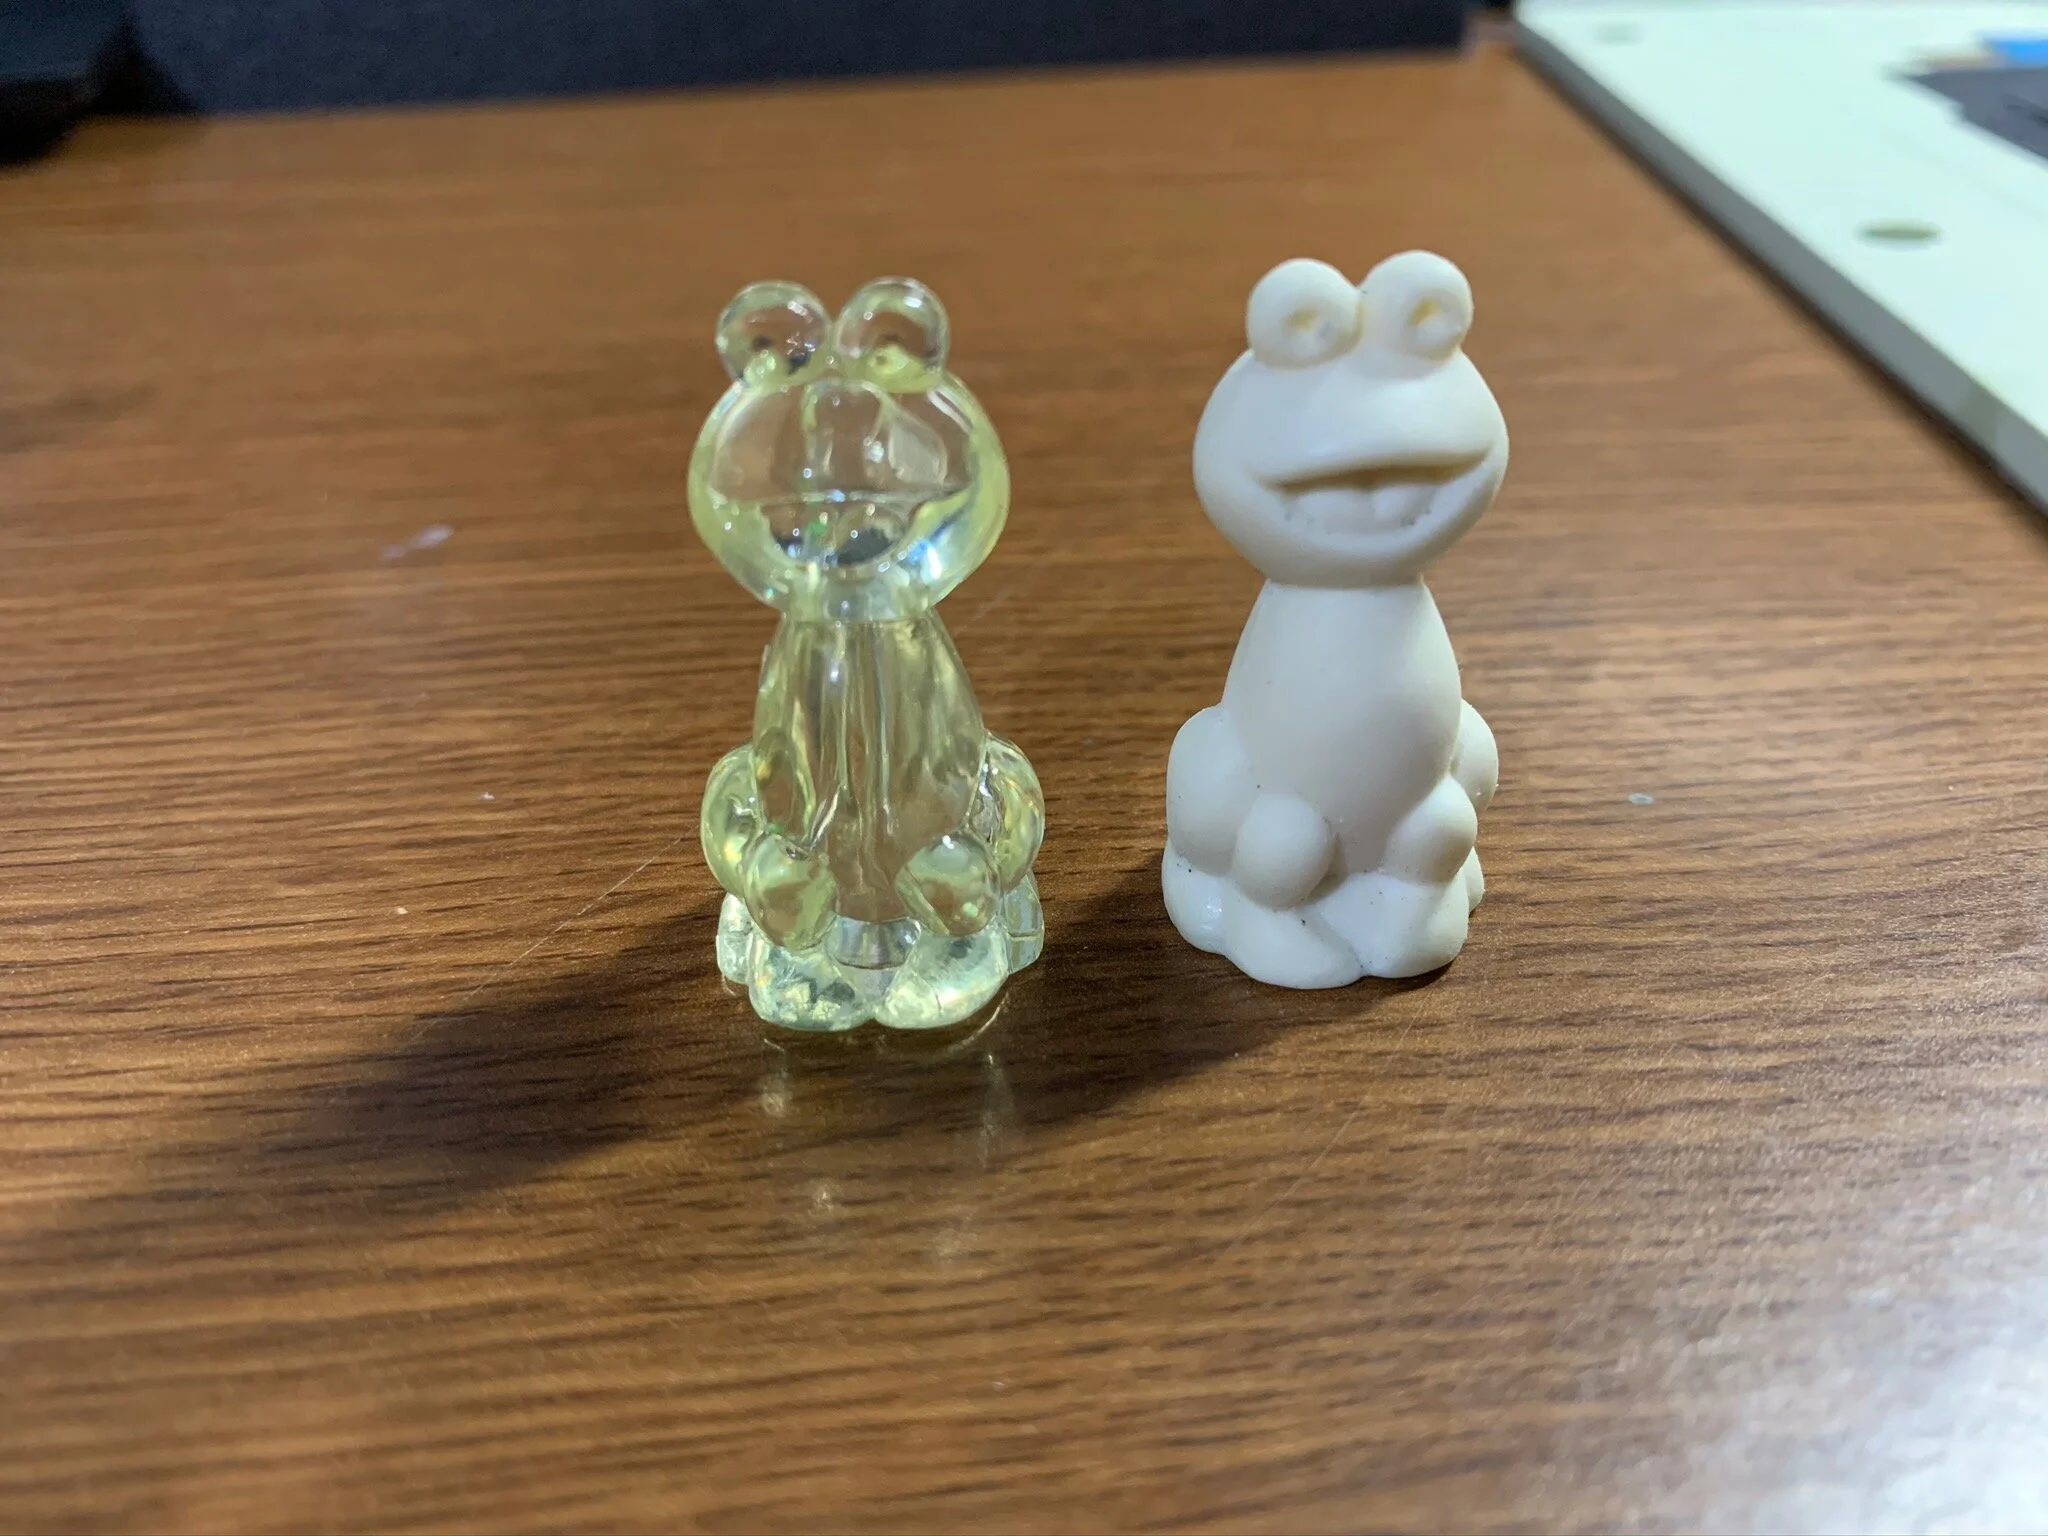
The original intent of this project was to create a mold of the clay model to cast plastic parts. However, due to COVID-19, in-person classes were canceled and the project scope was reduced. Instead of creating a mold of the clay model, students received materials at home to cast a smaller scale item. I selected a small frog figurine that was used as a board game piece in Monopoly.
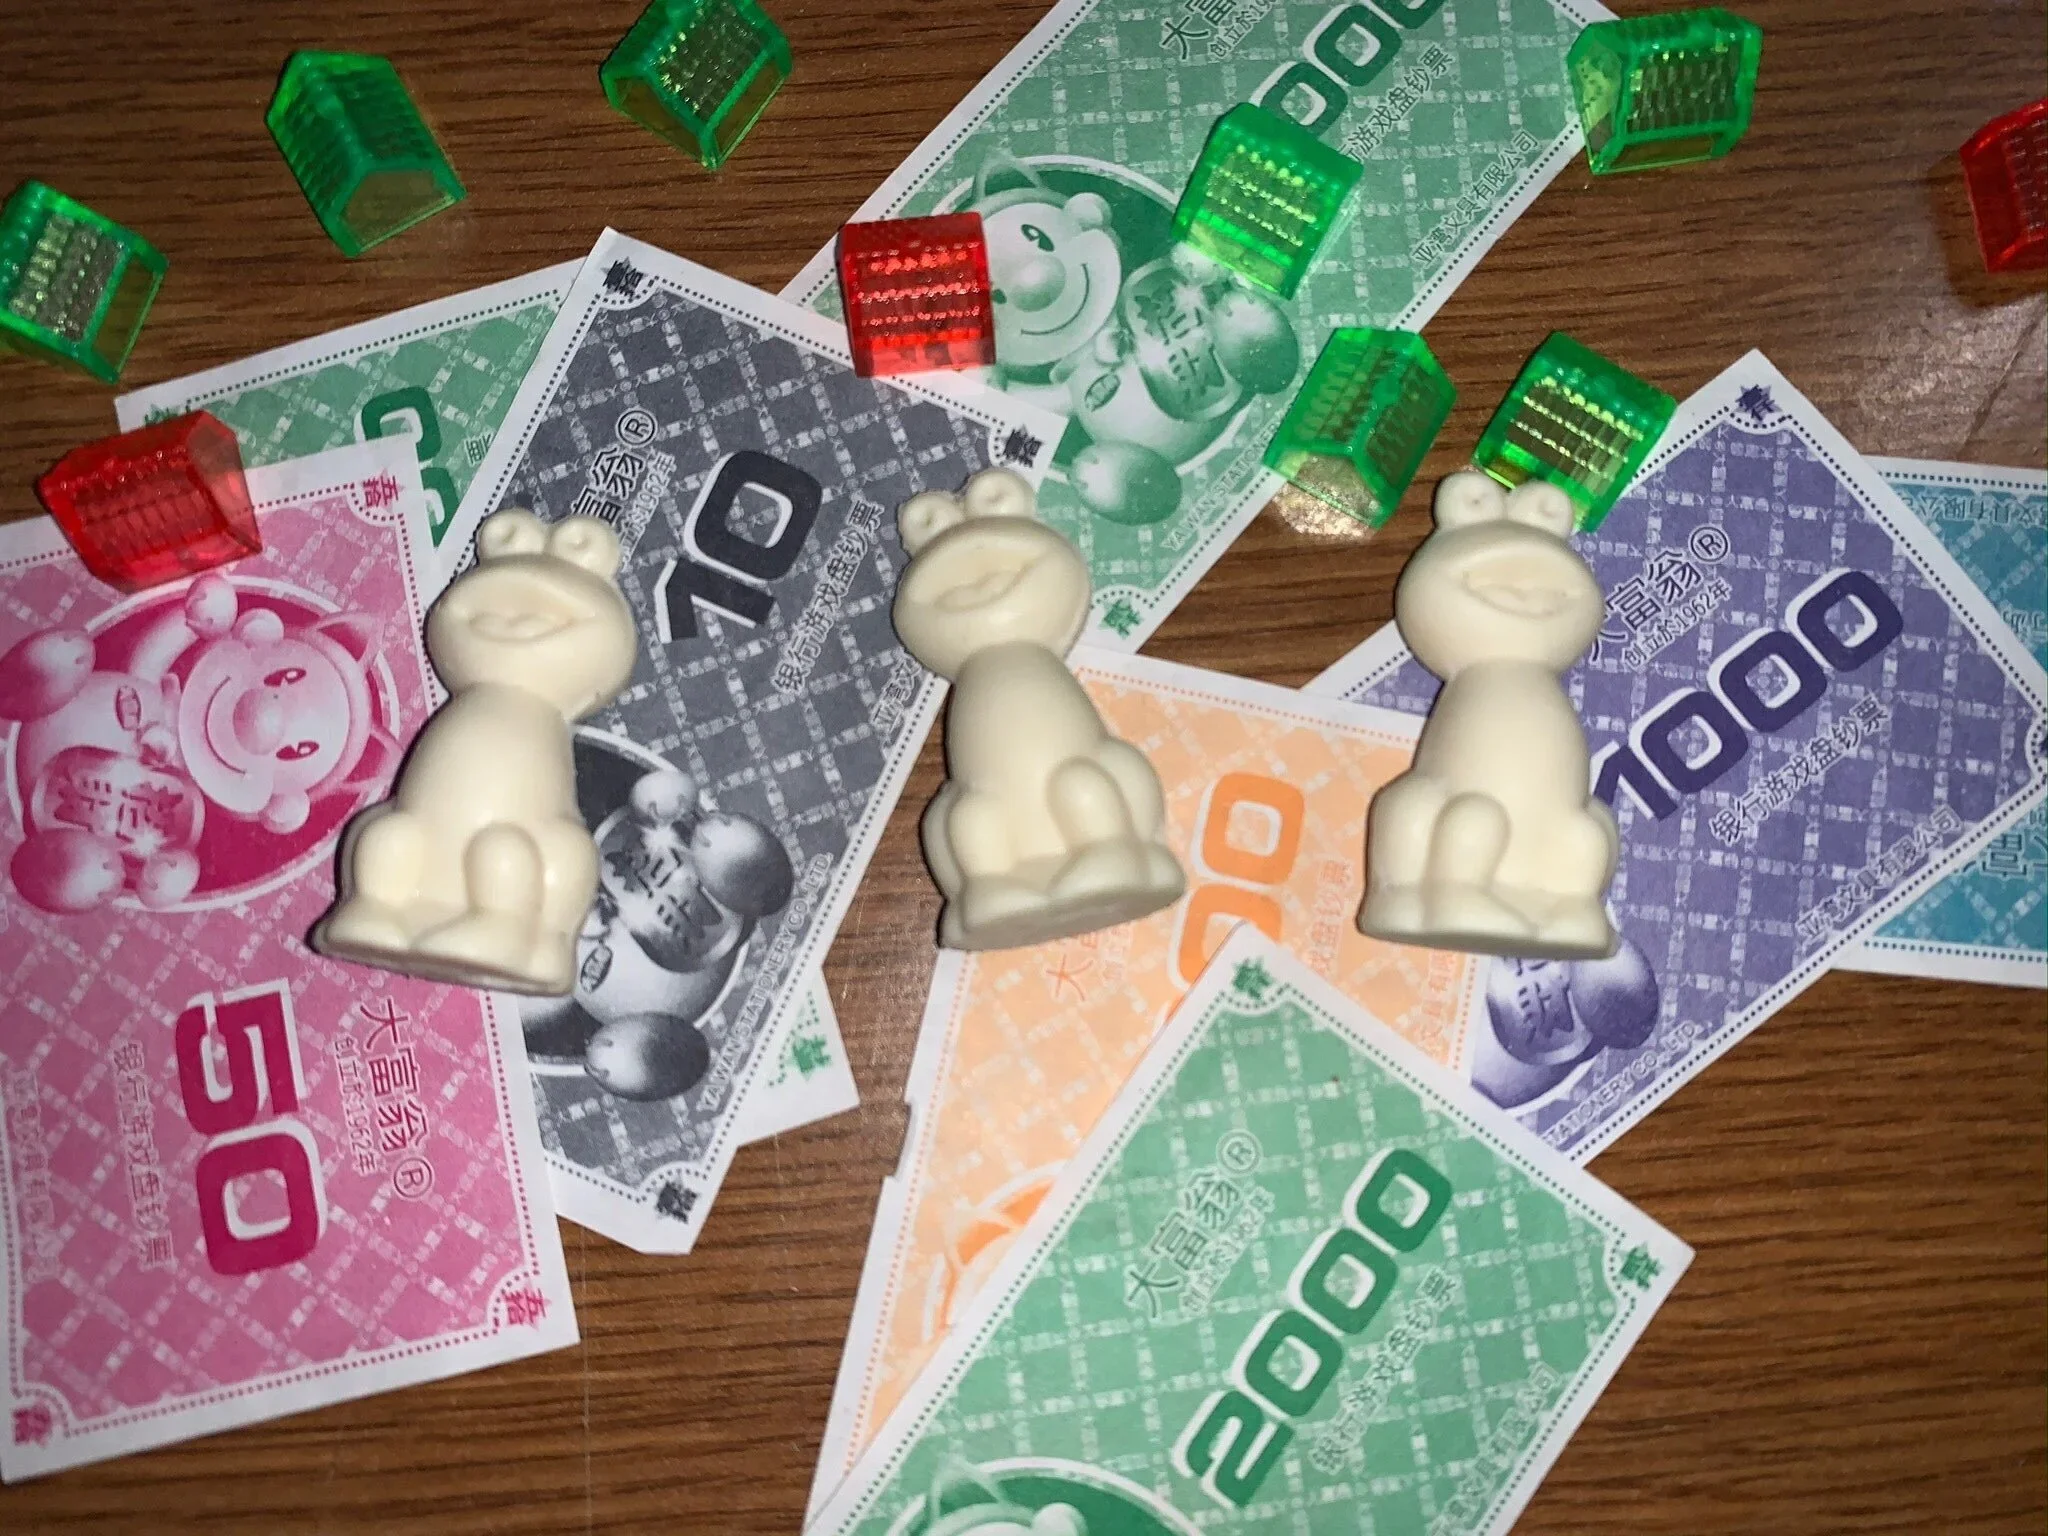
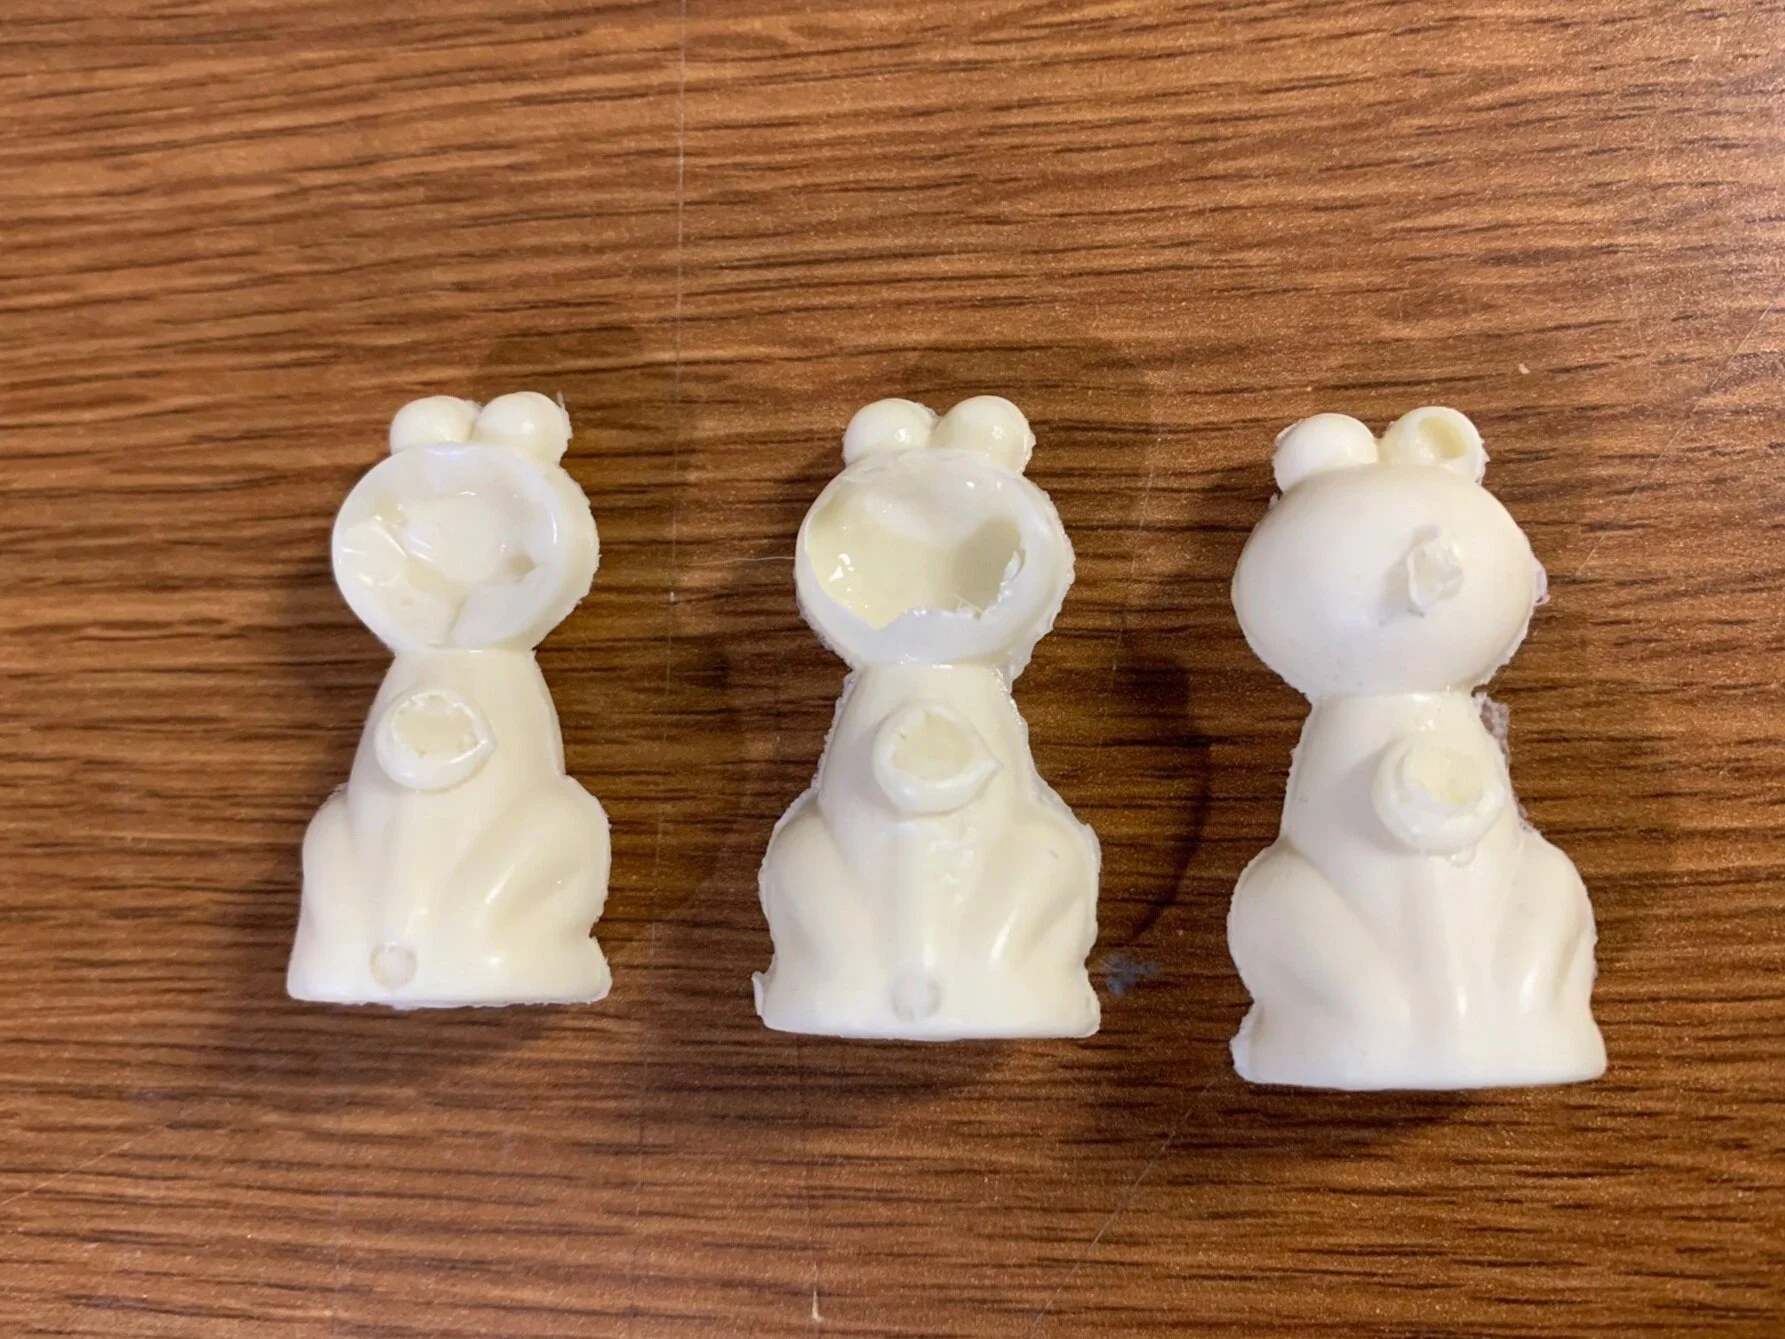
Final result: 3 replicas of the original piece
Creating the Mold
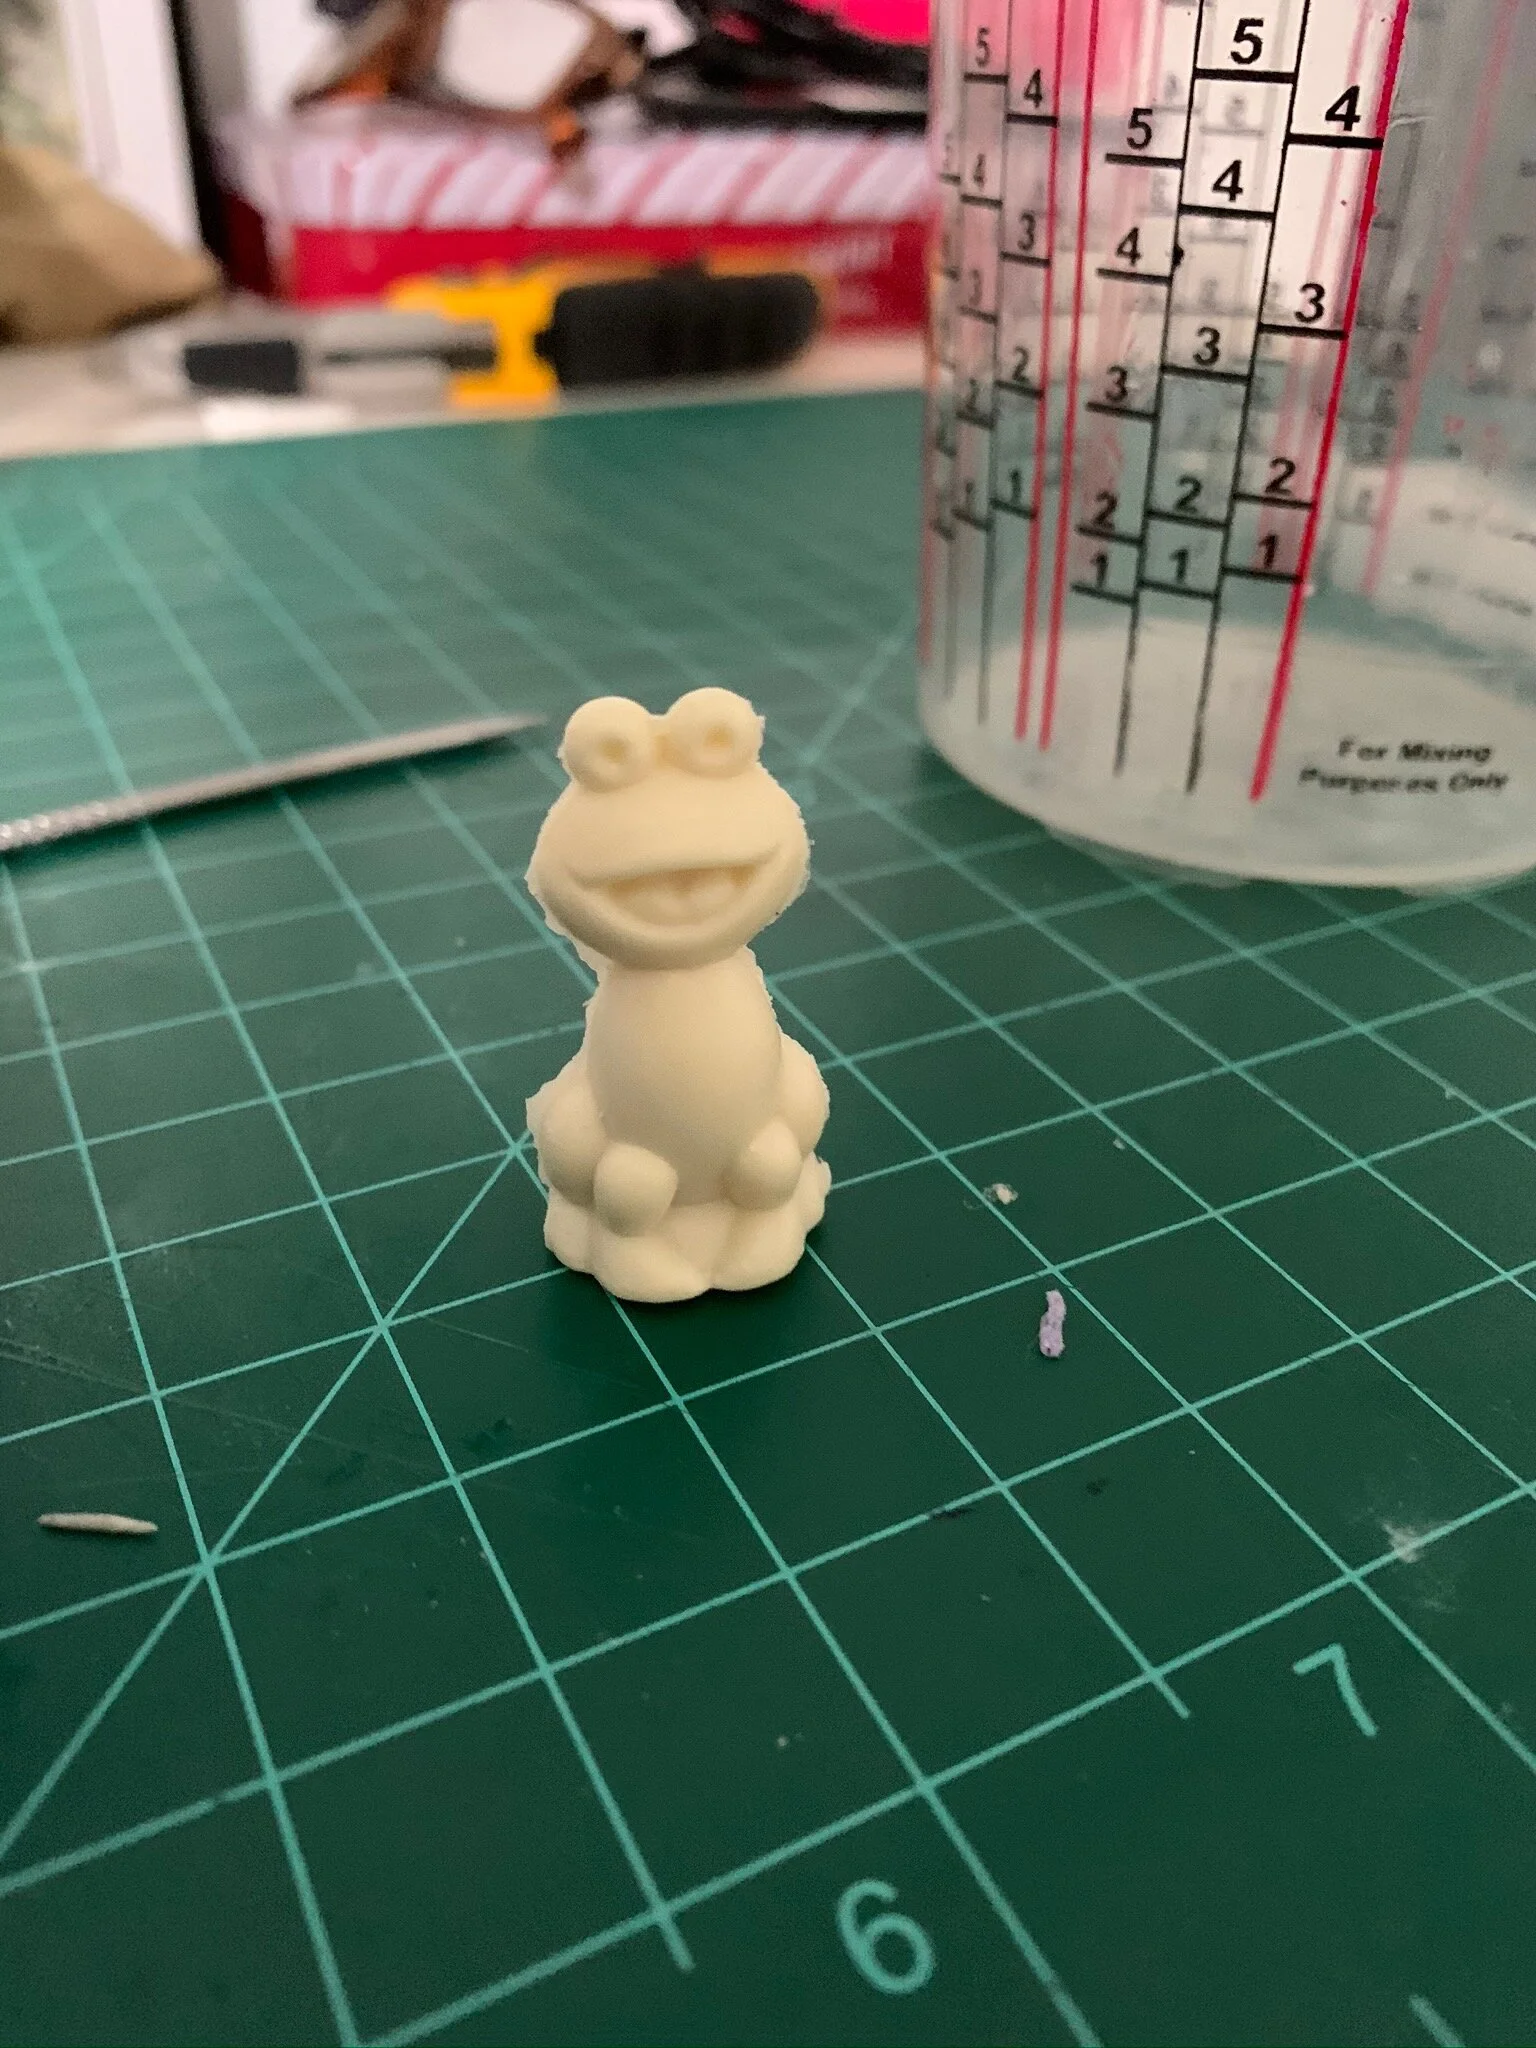
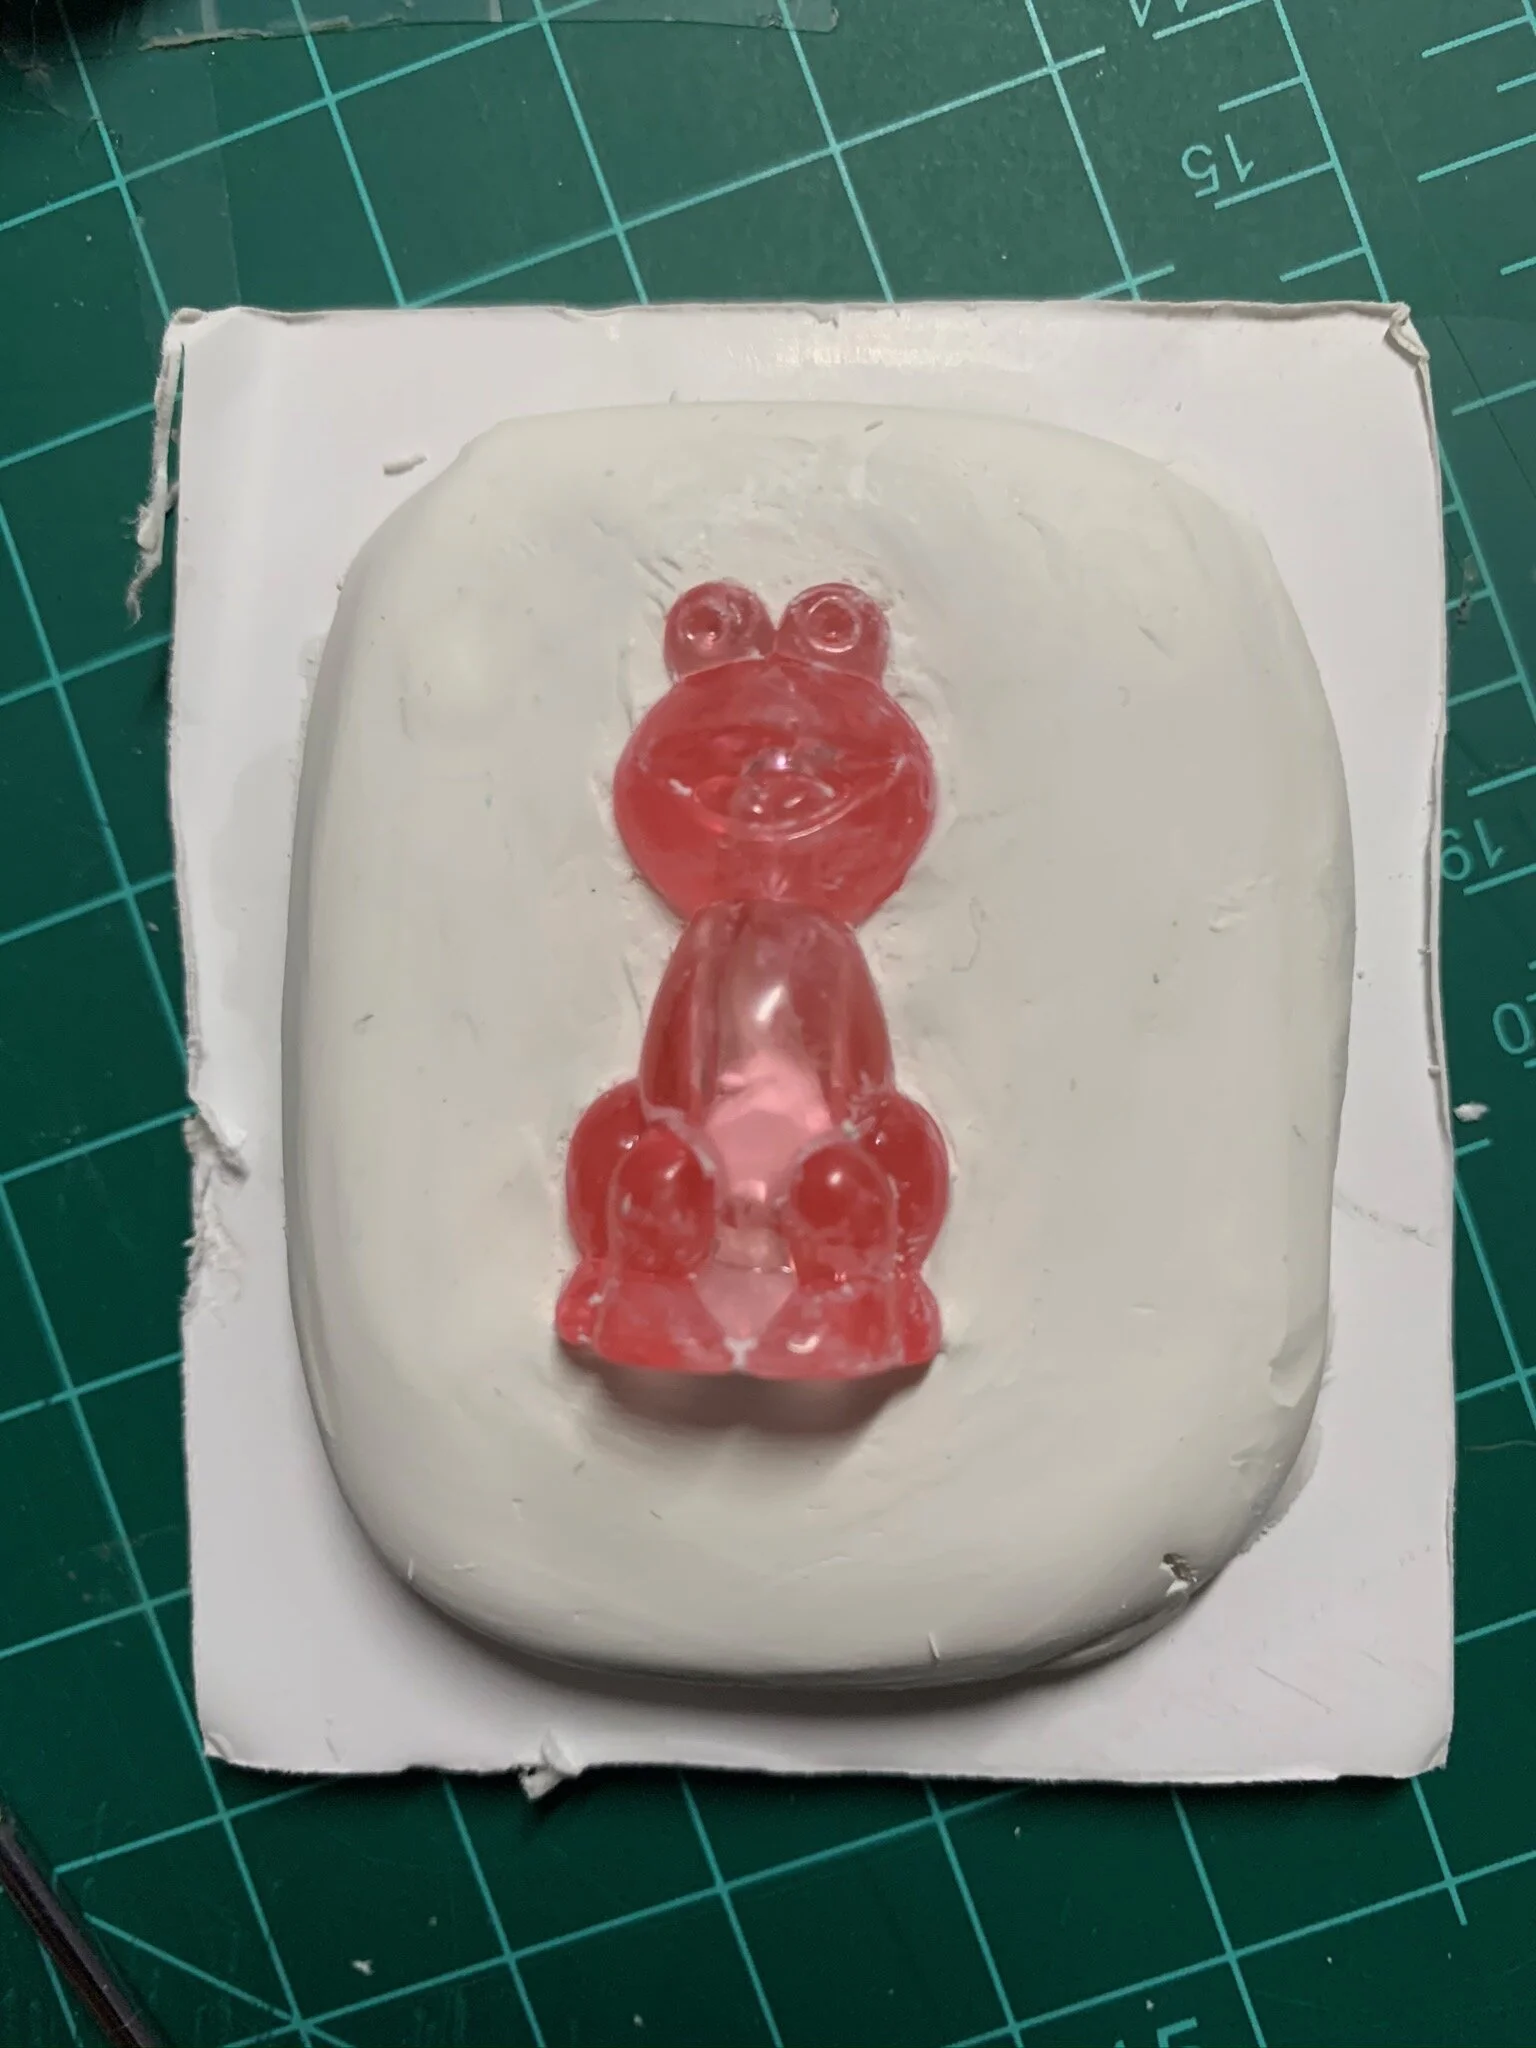
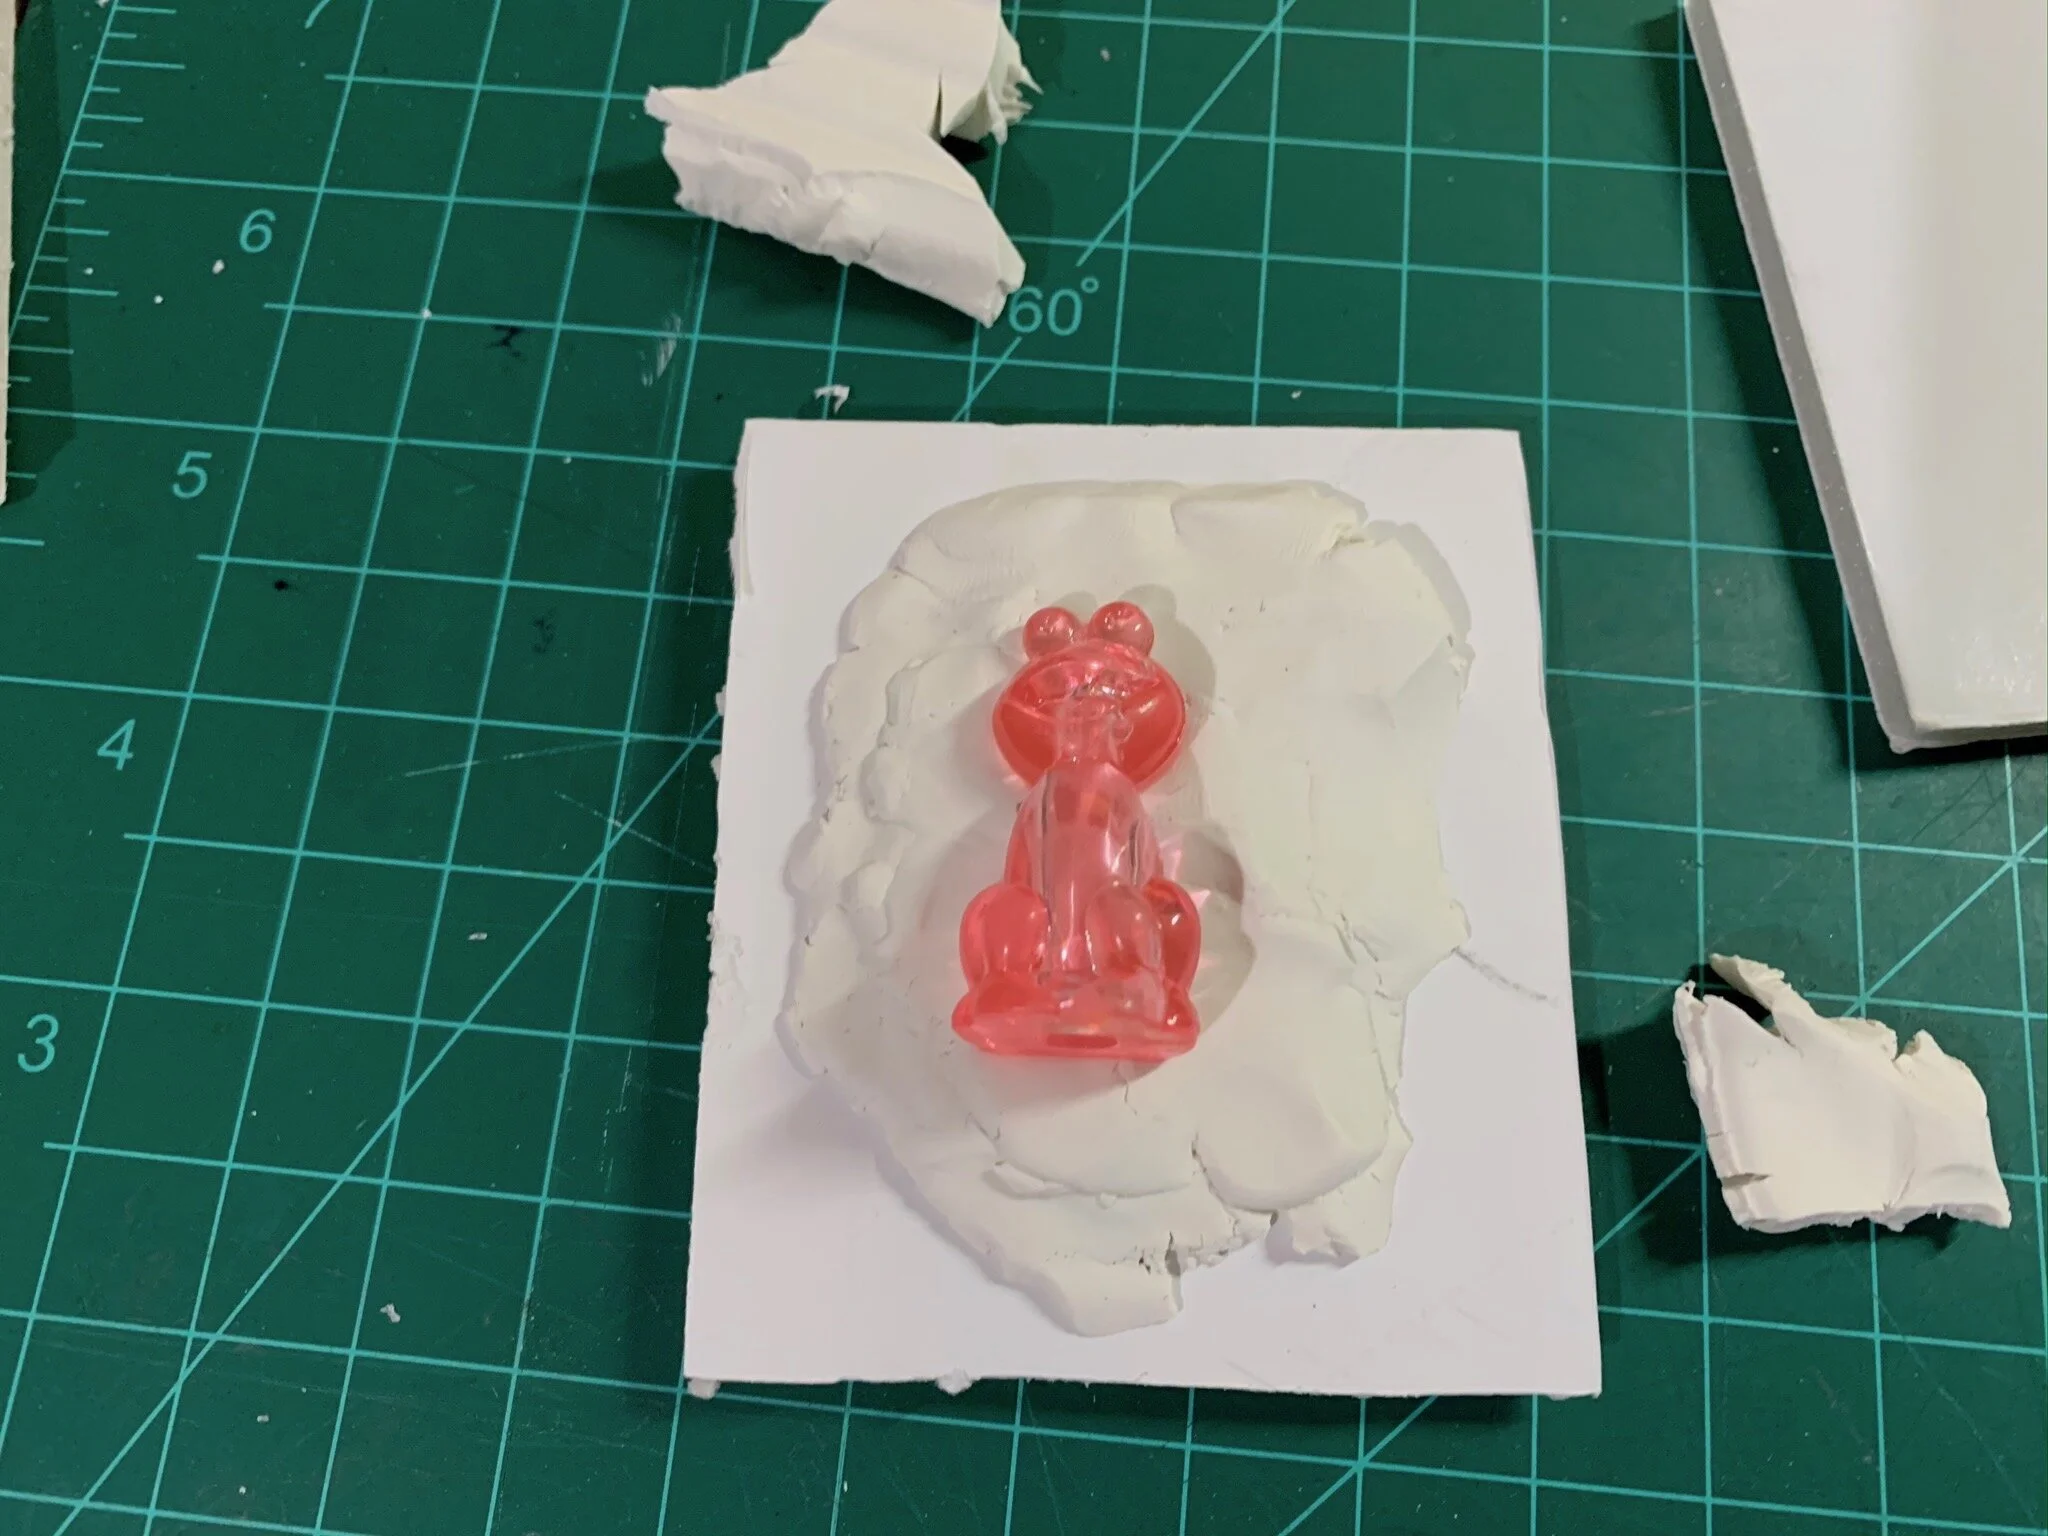
I created a 2-part mold by surrounding my master part with sculpey clay. I filled the space up to the part line that already existed in the original part. I also used the clay to cover up a hole in the bottom of the piece. The silicone mold was able to capture many of the small details in the figure.
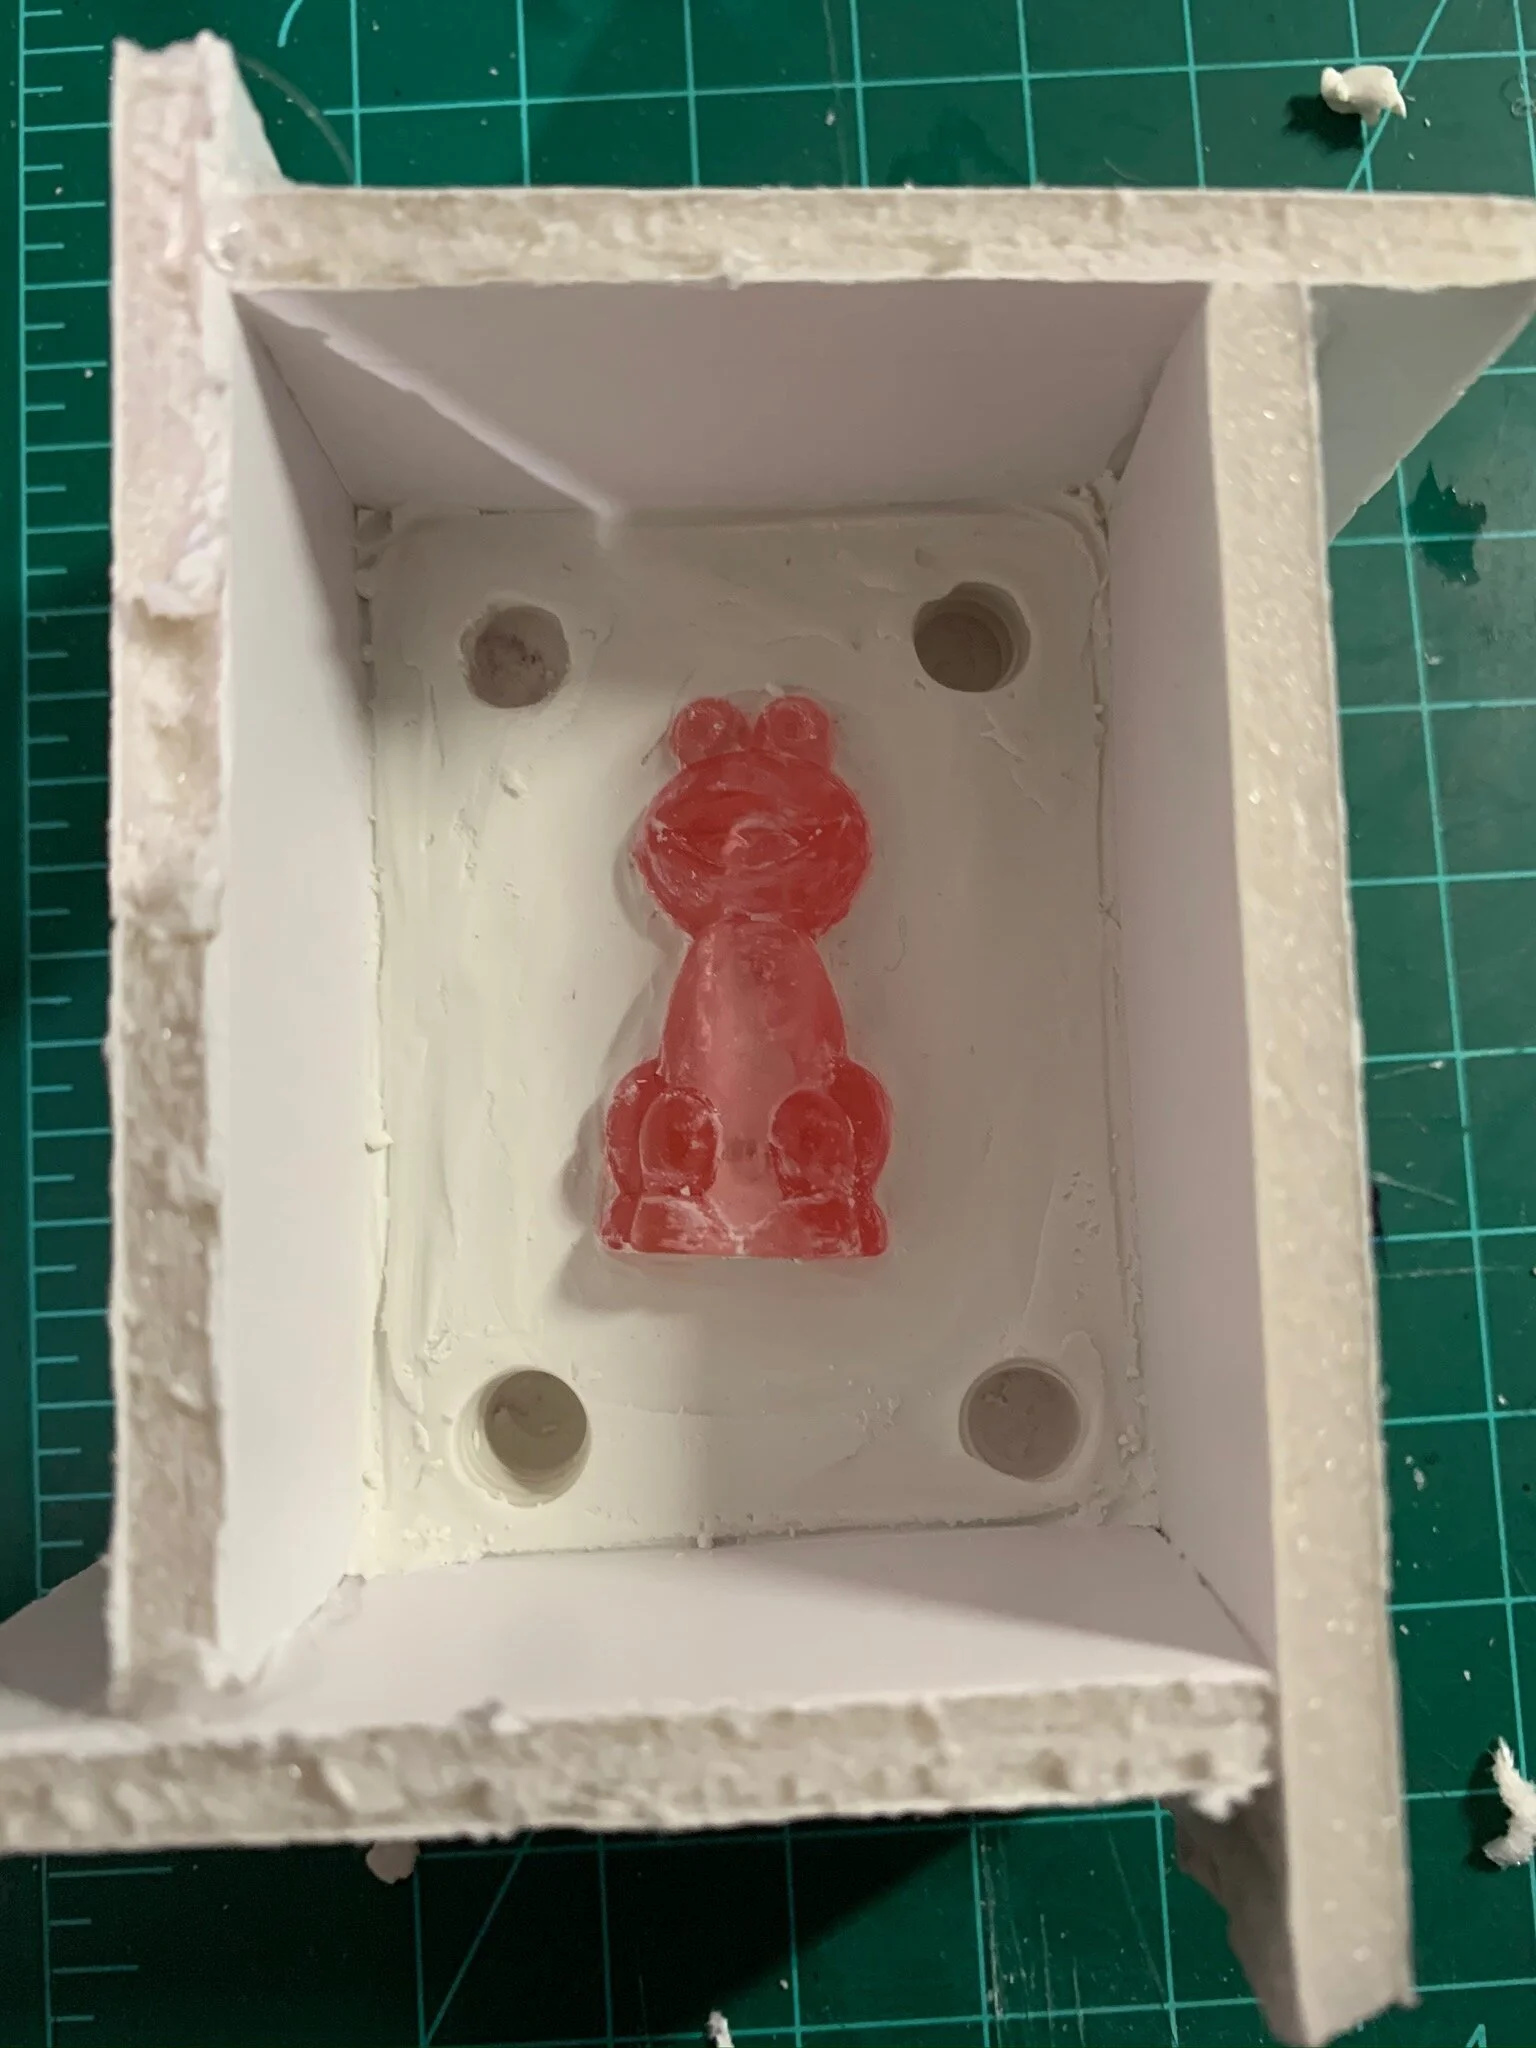
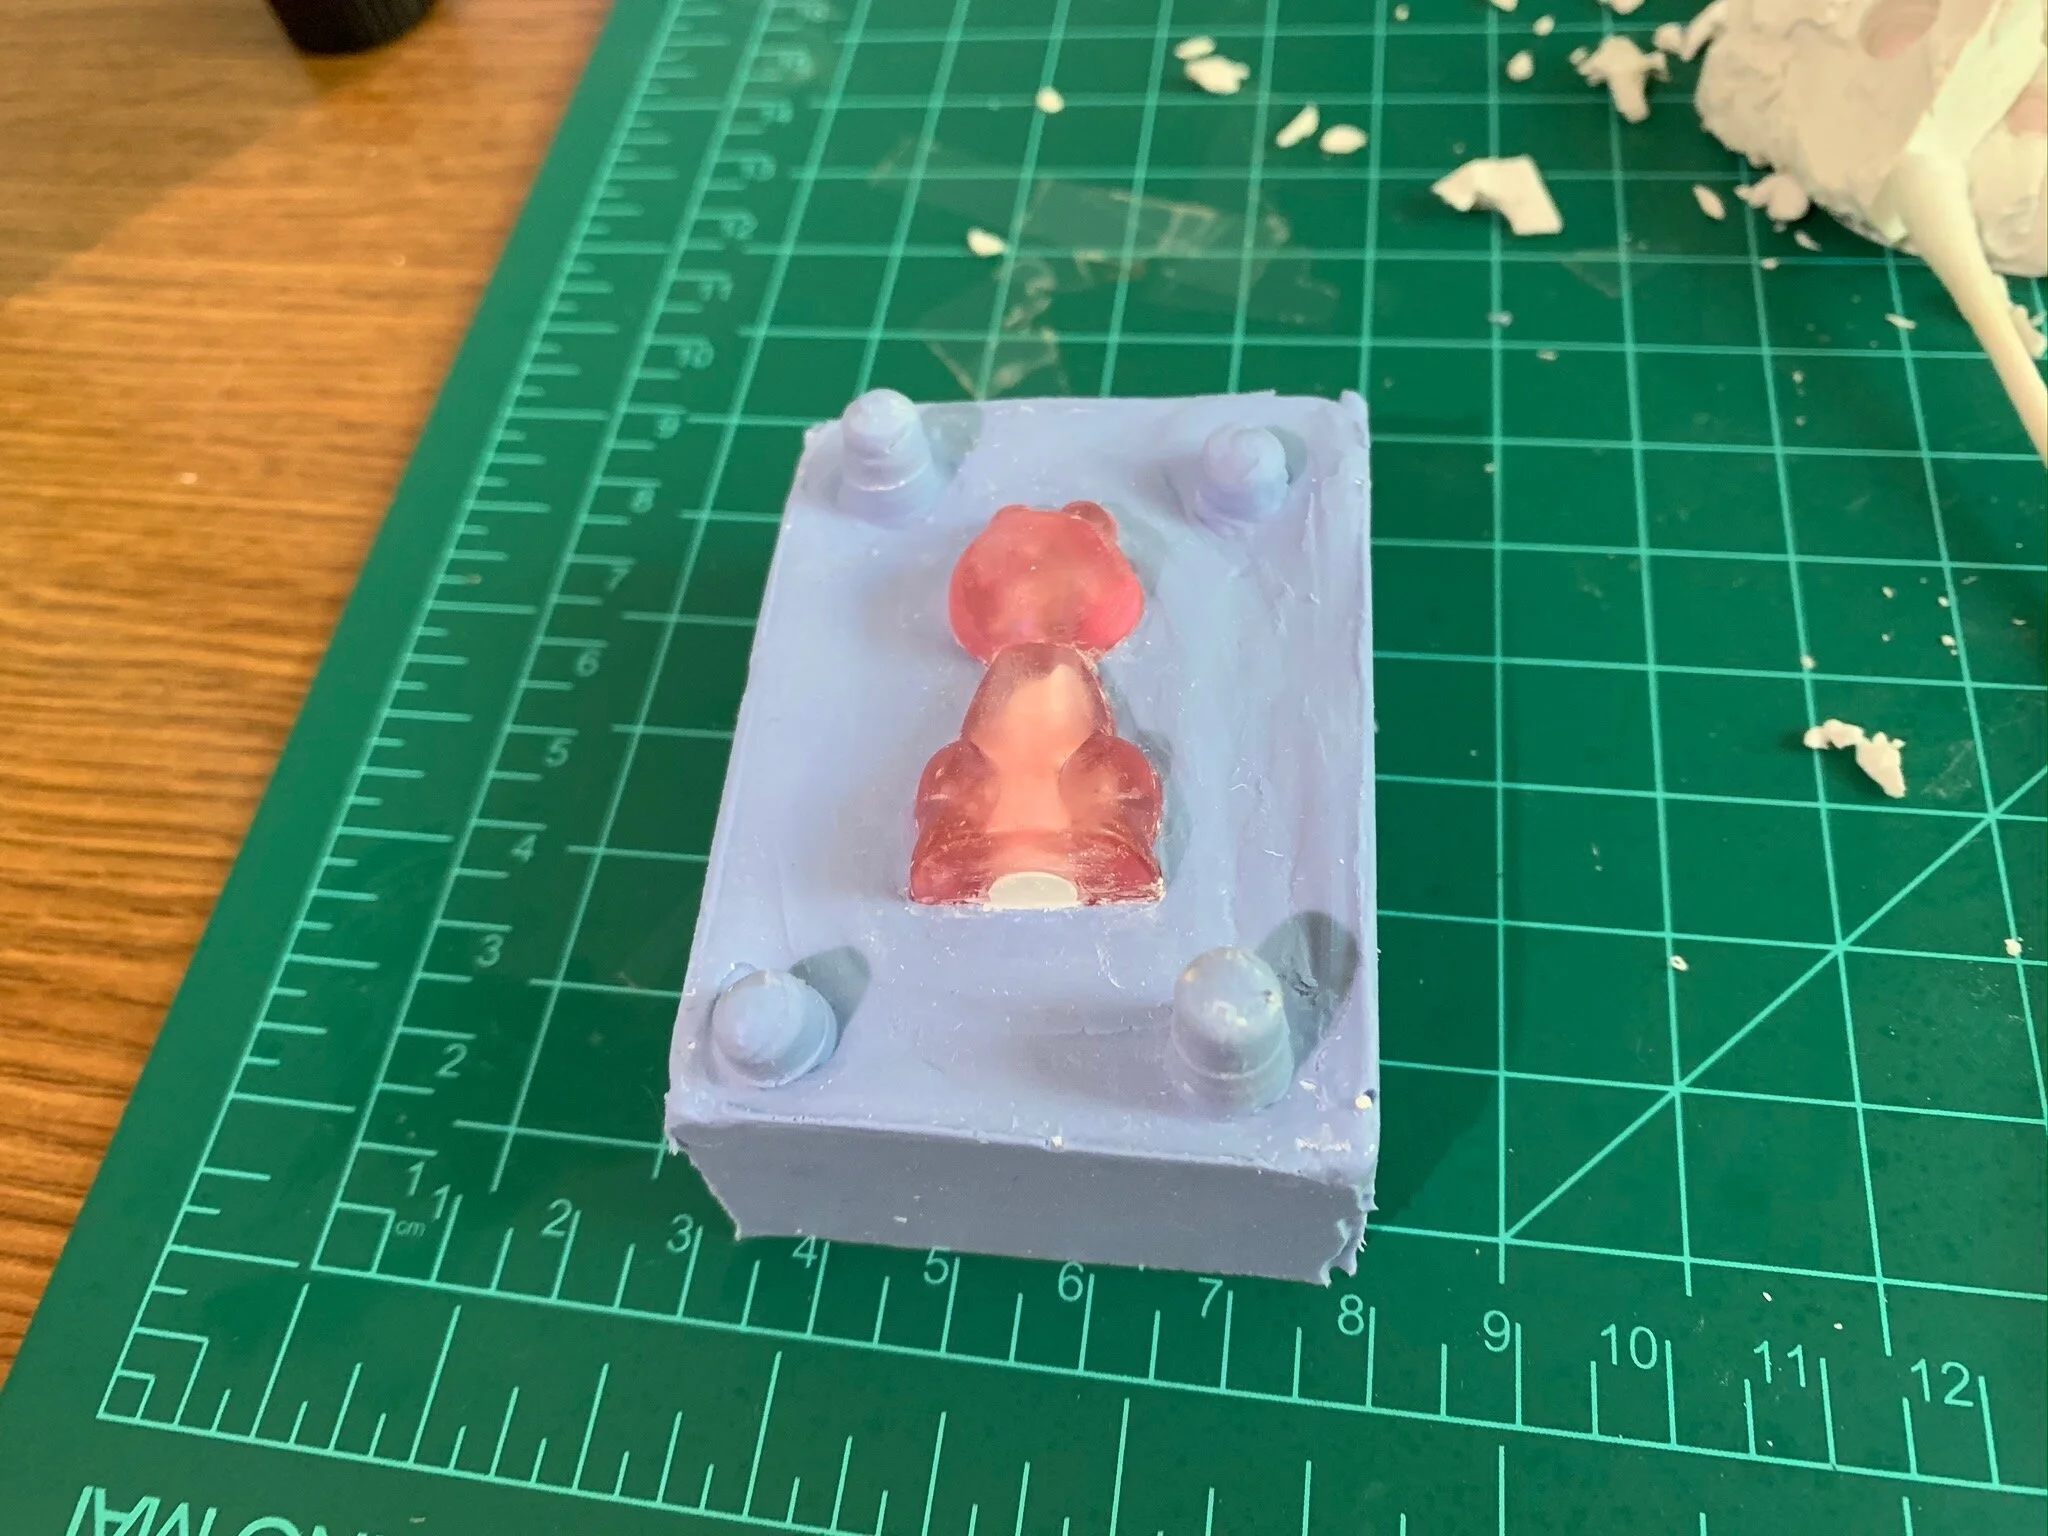
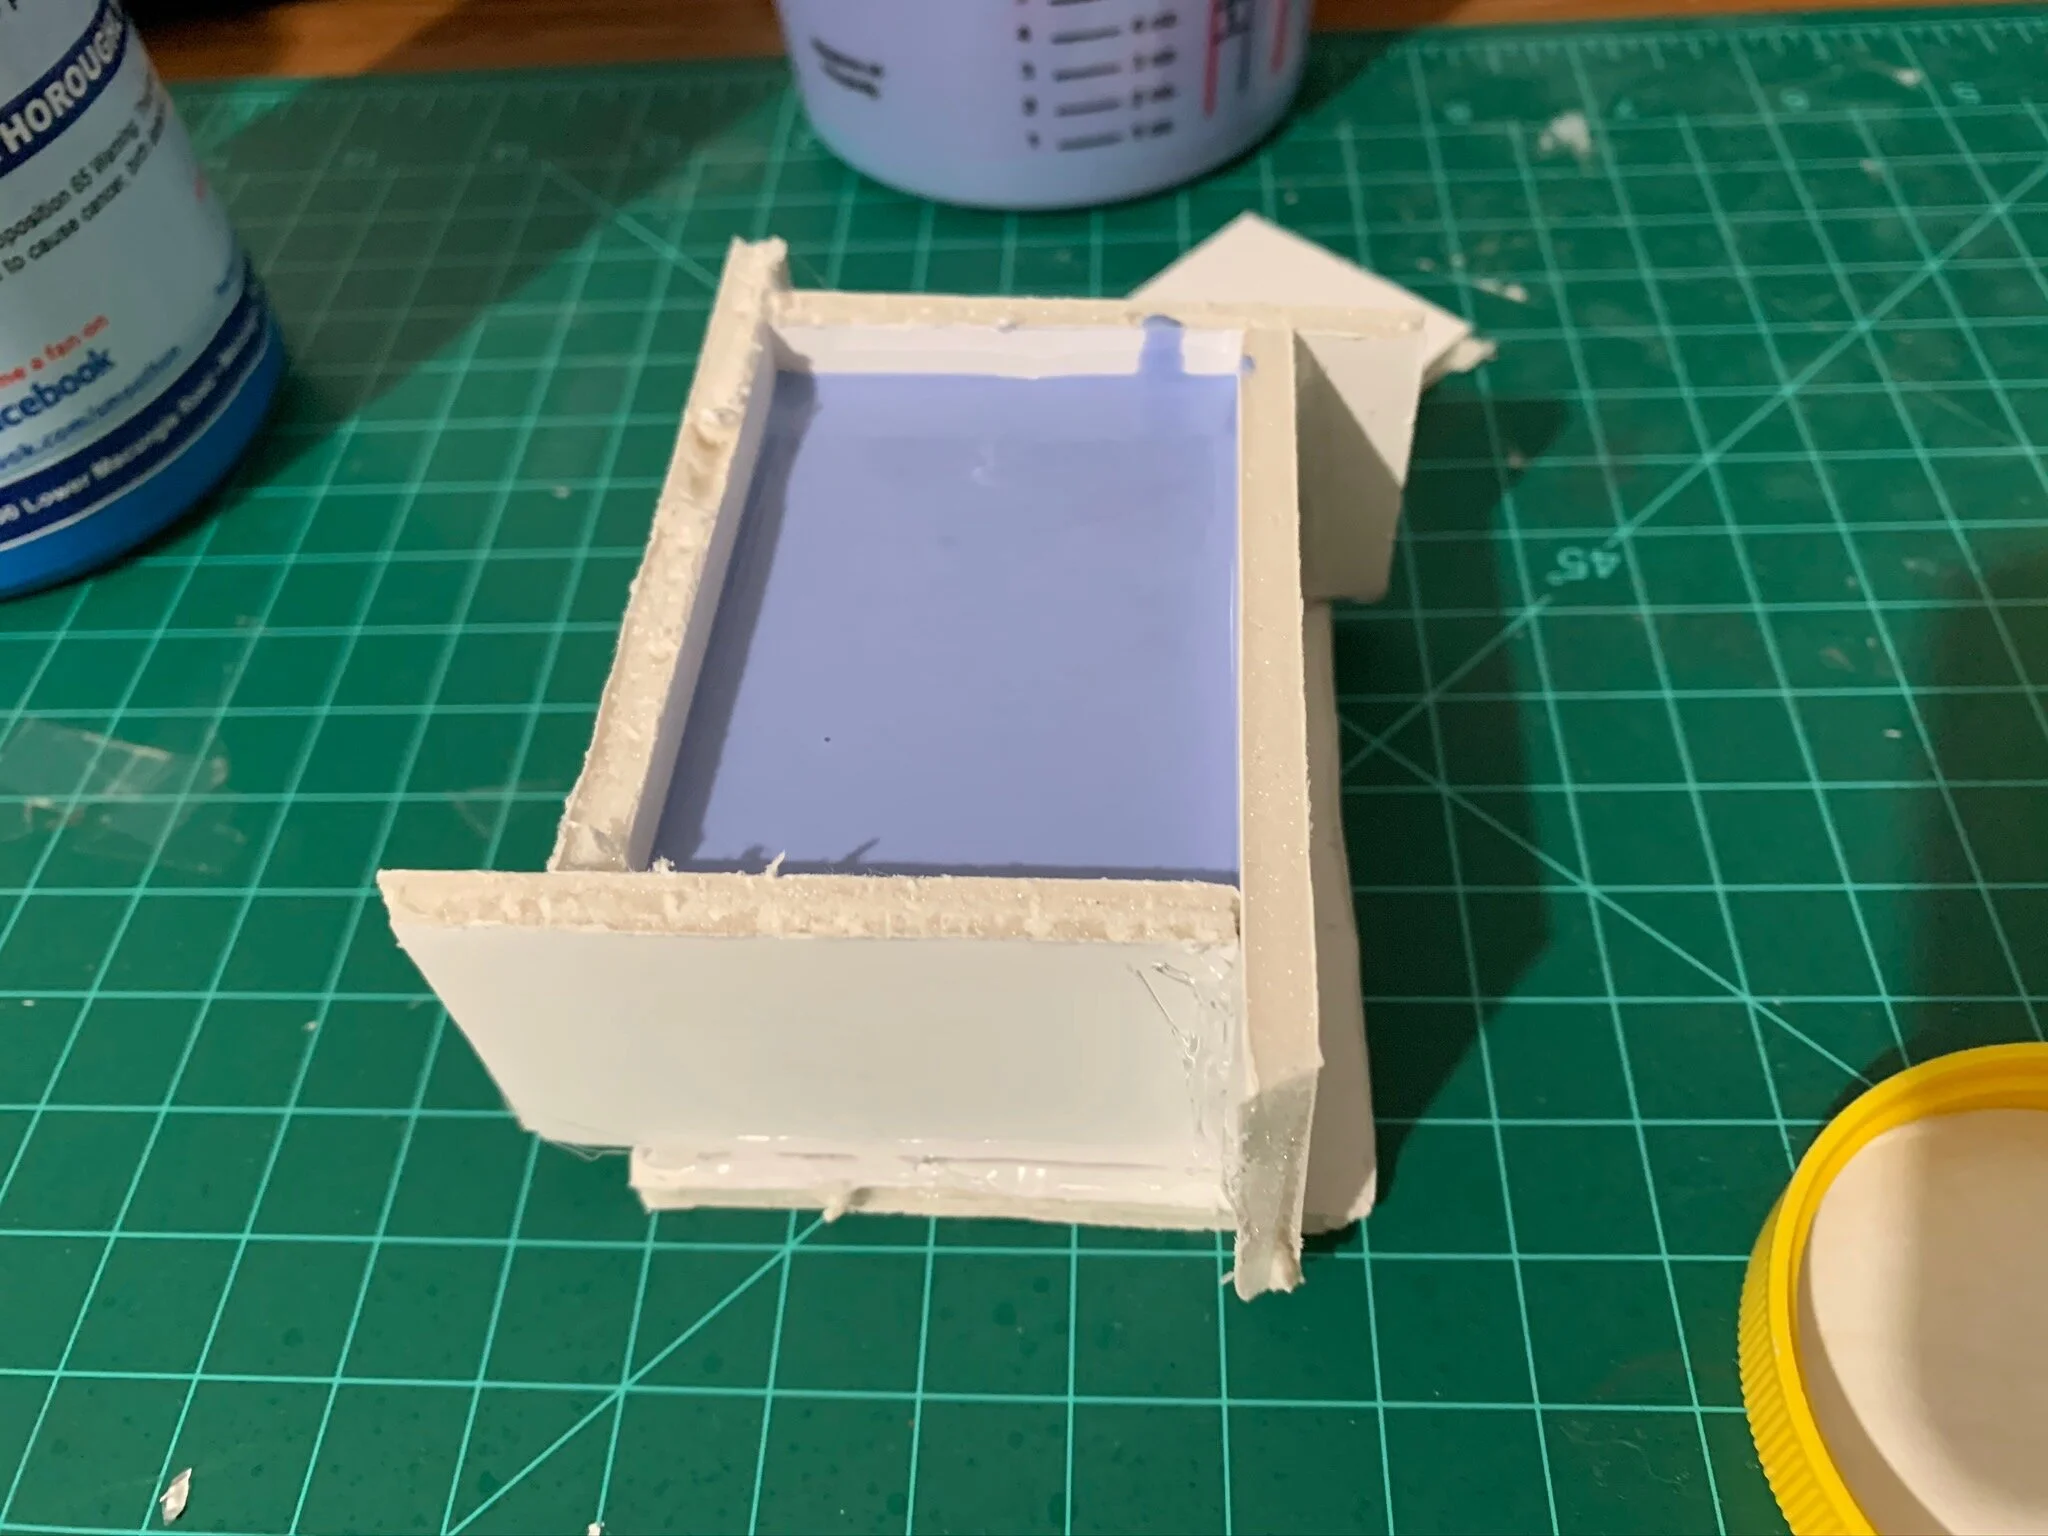
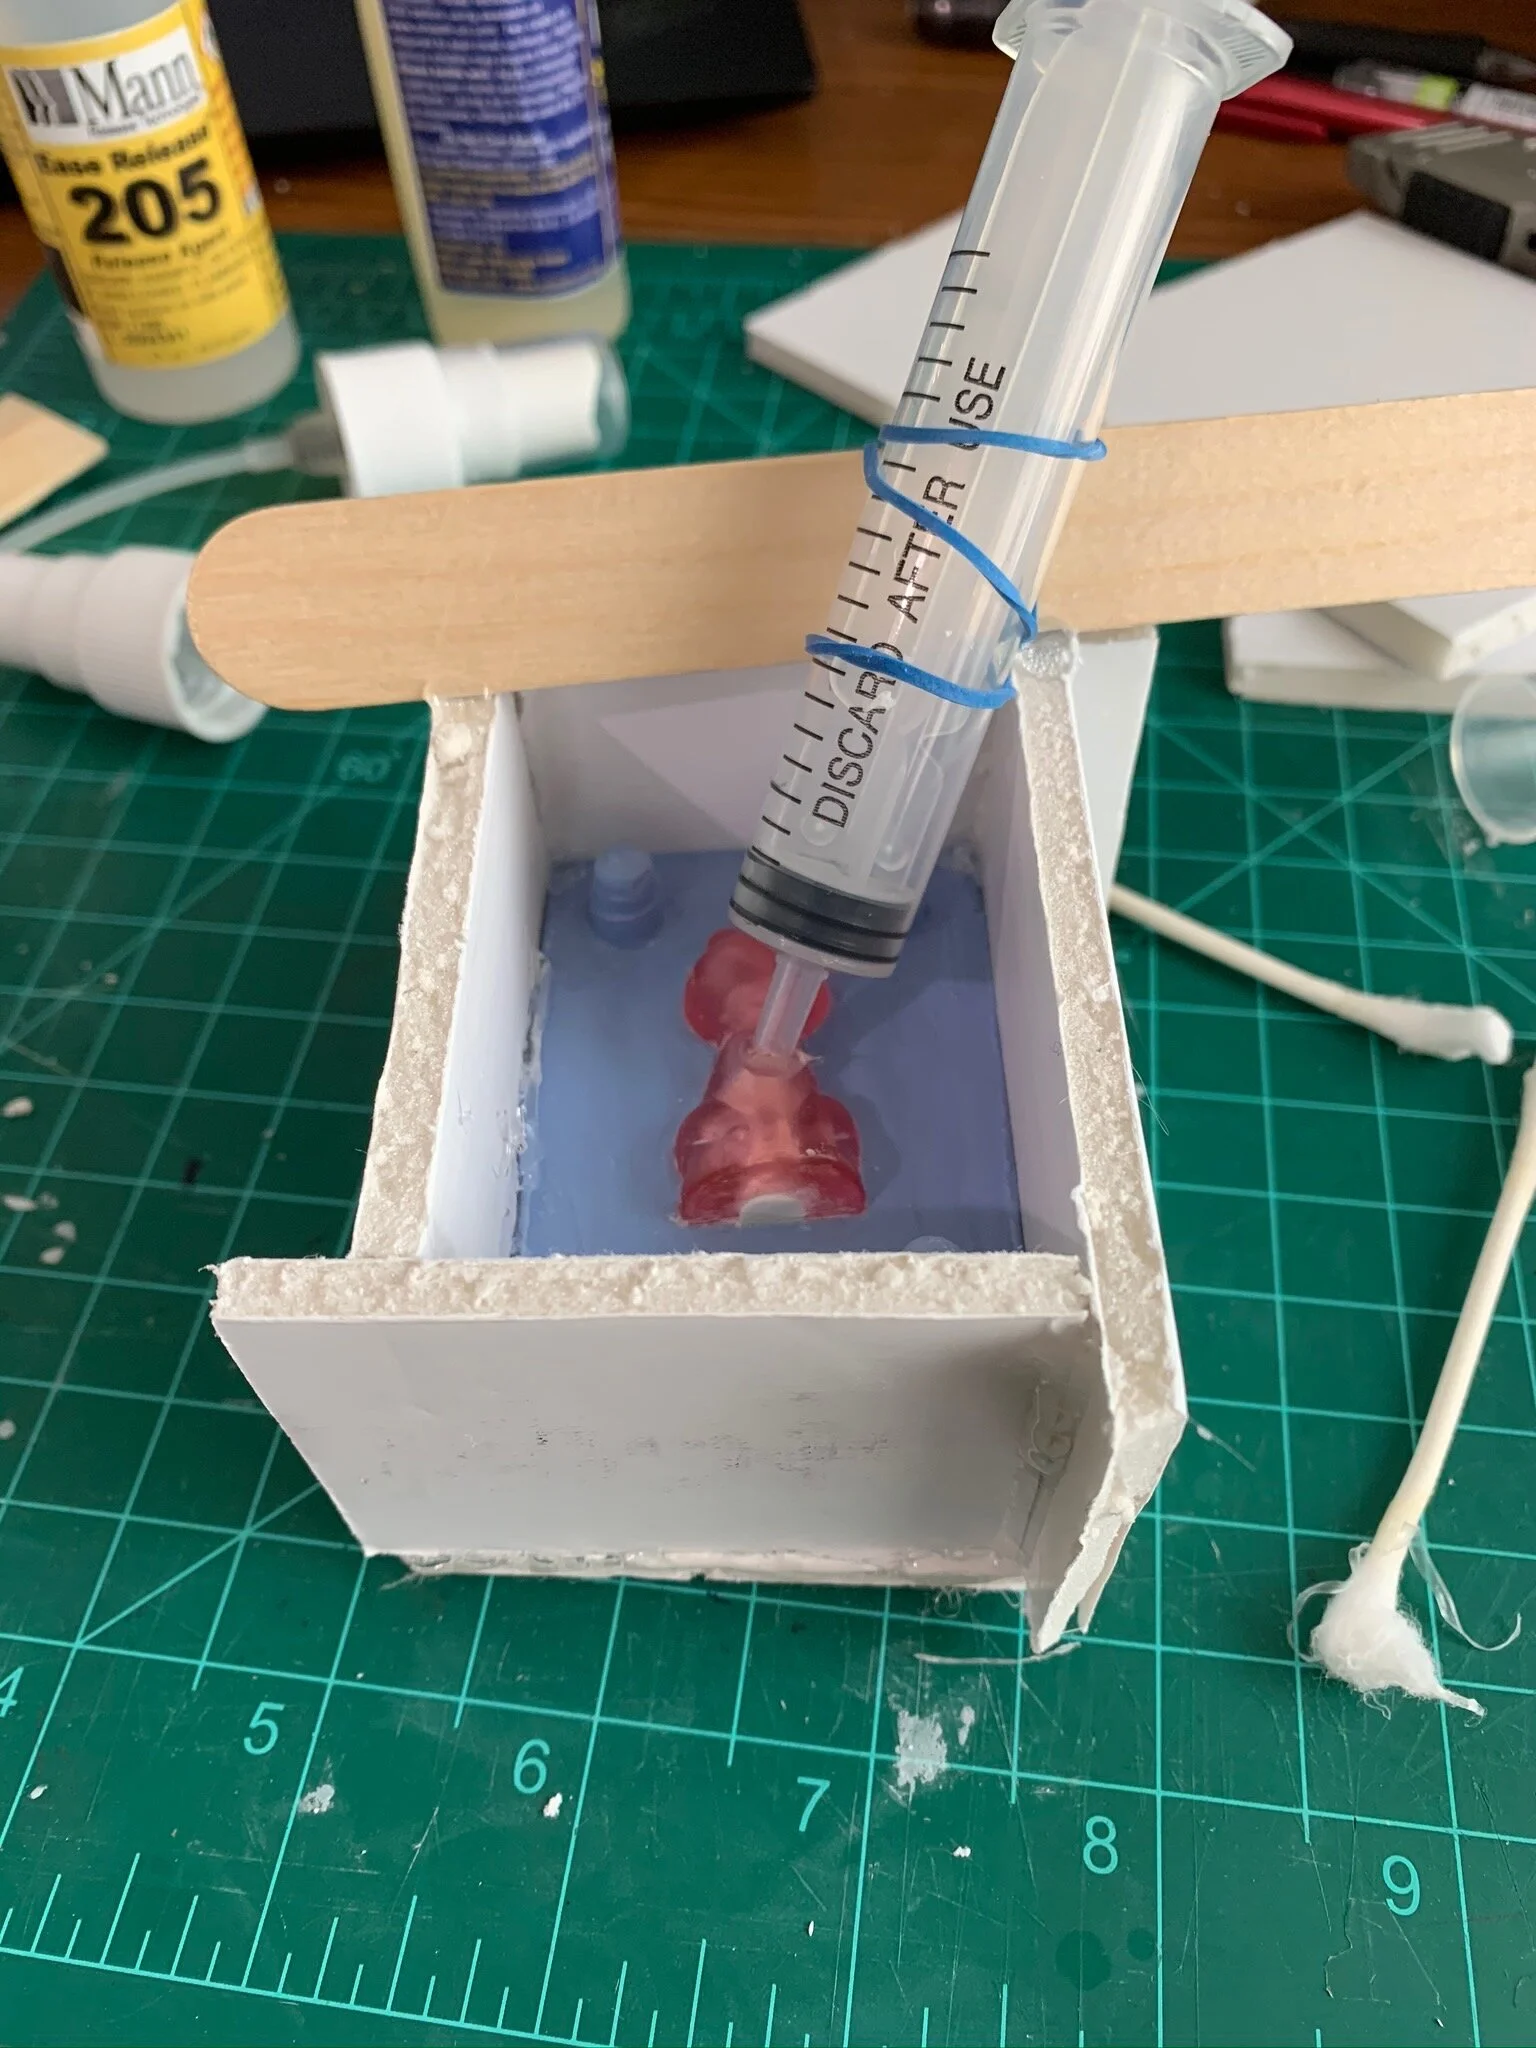
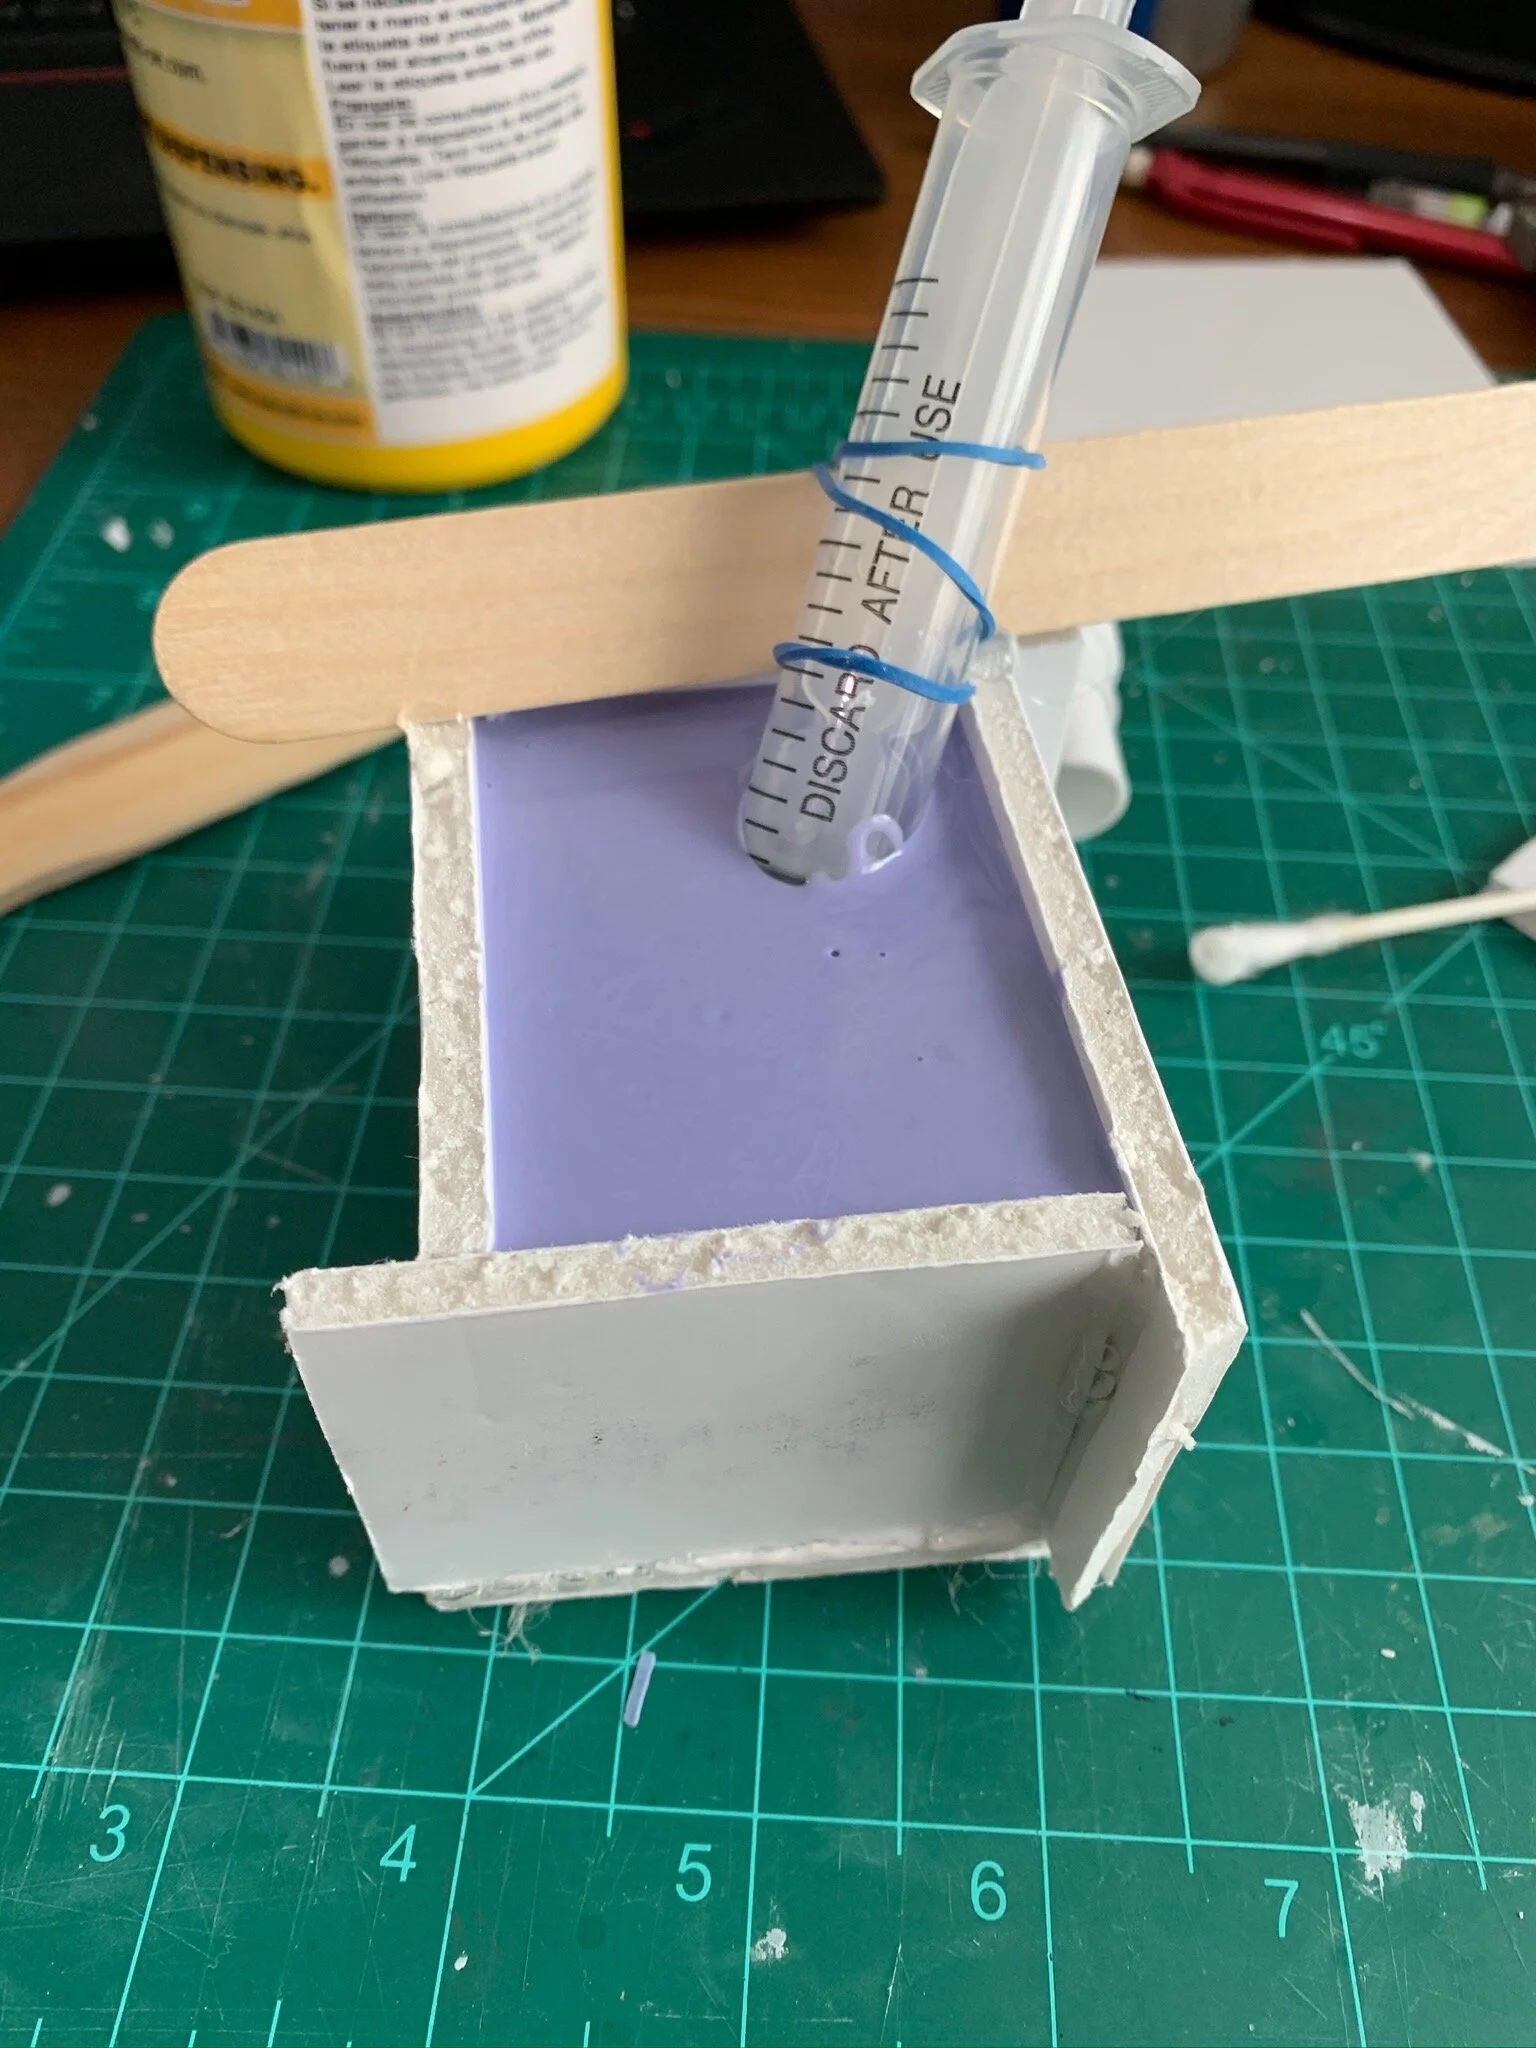
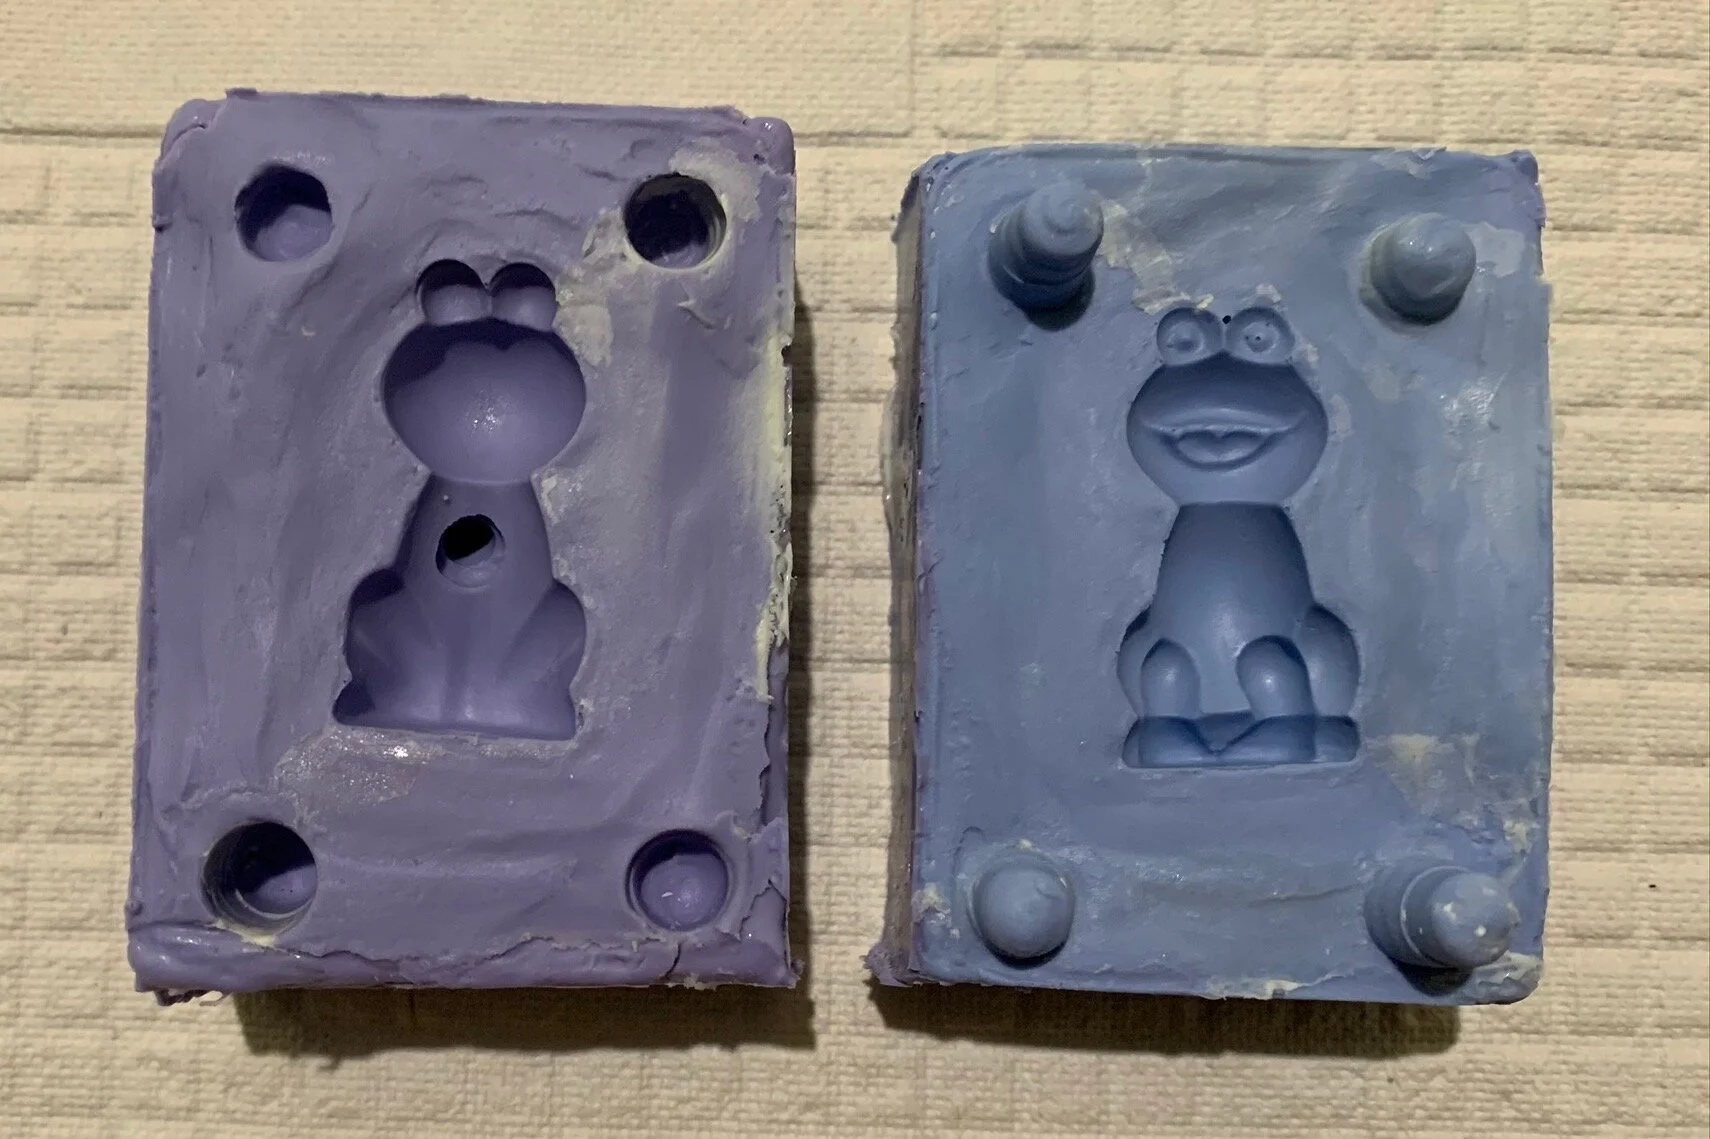
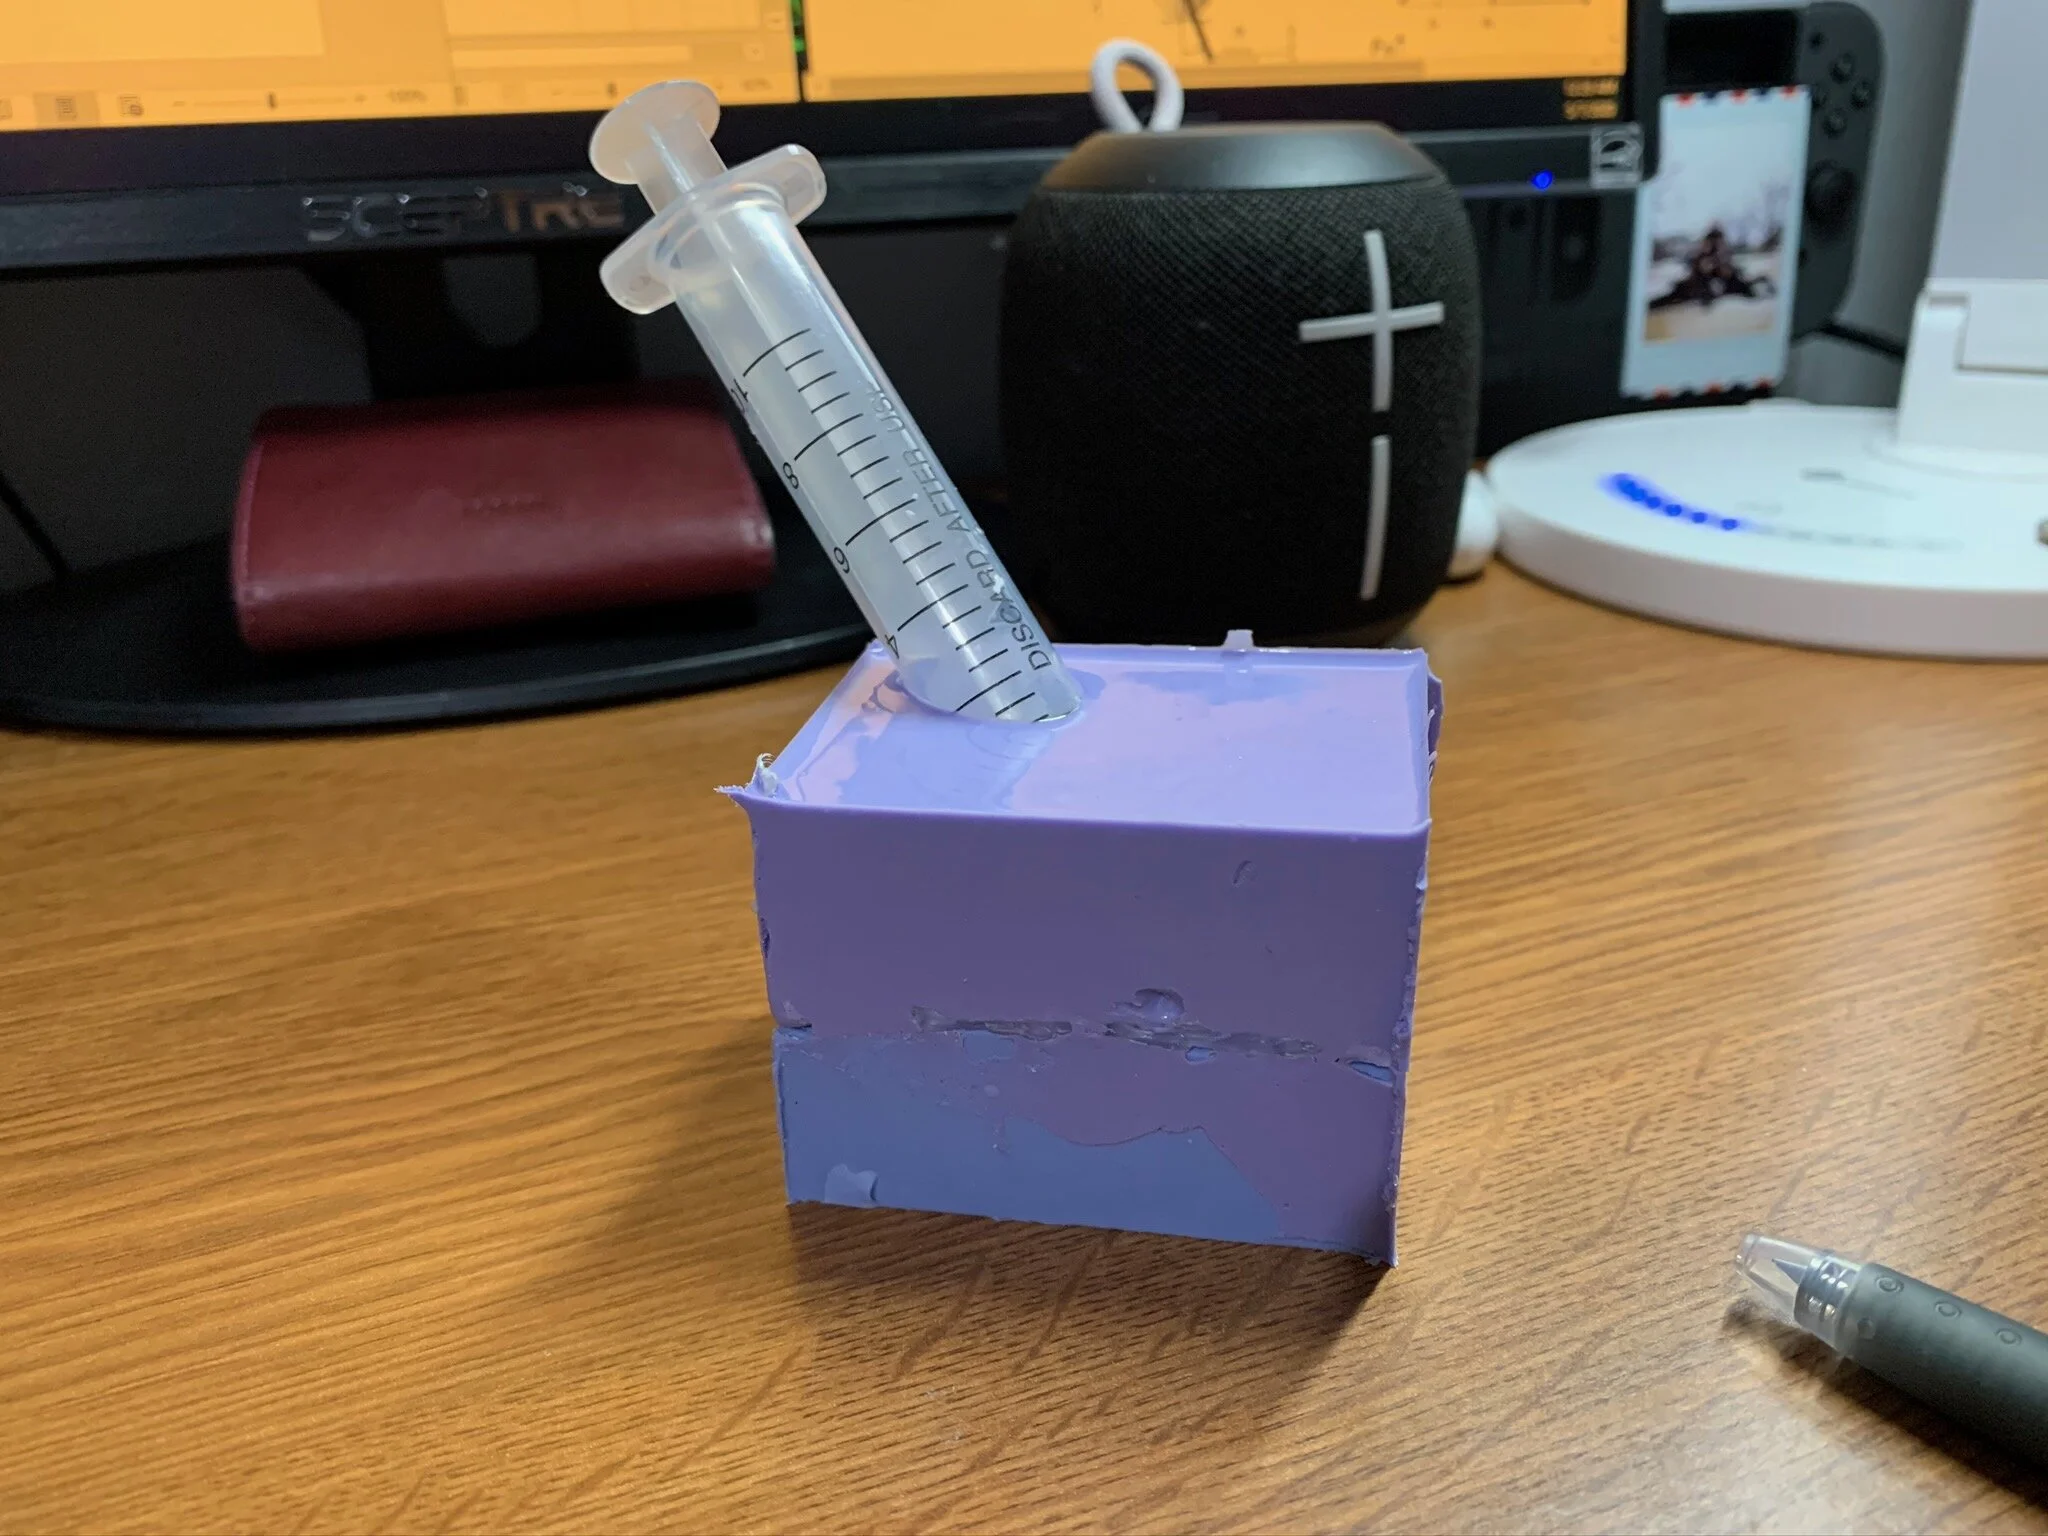
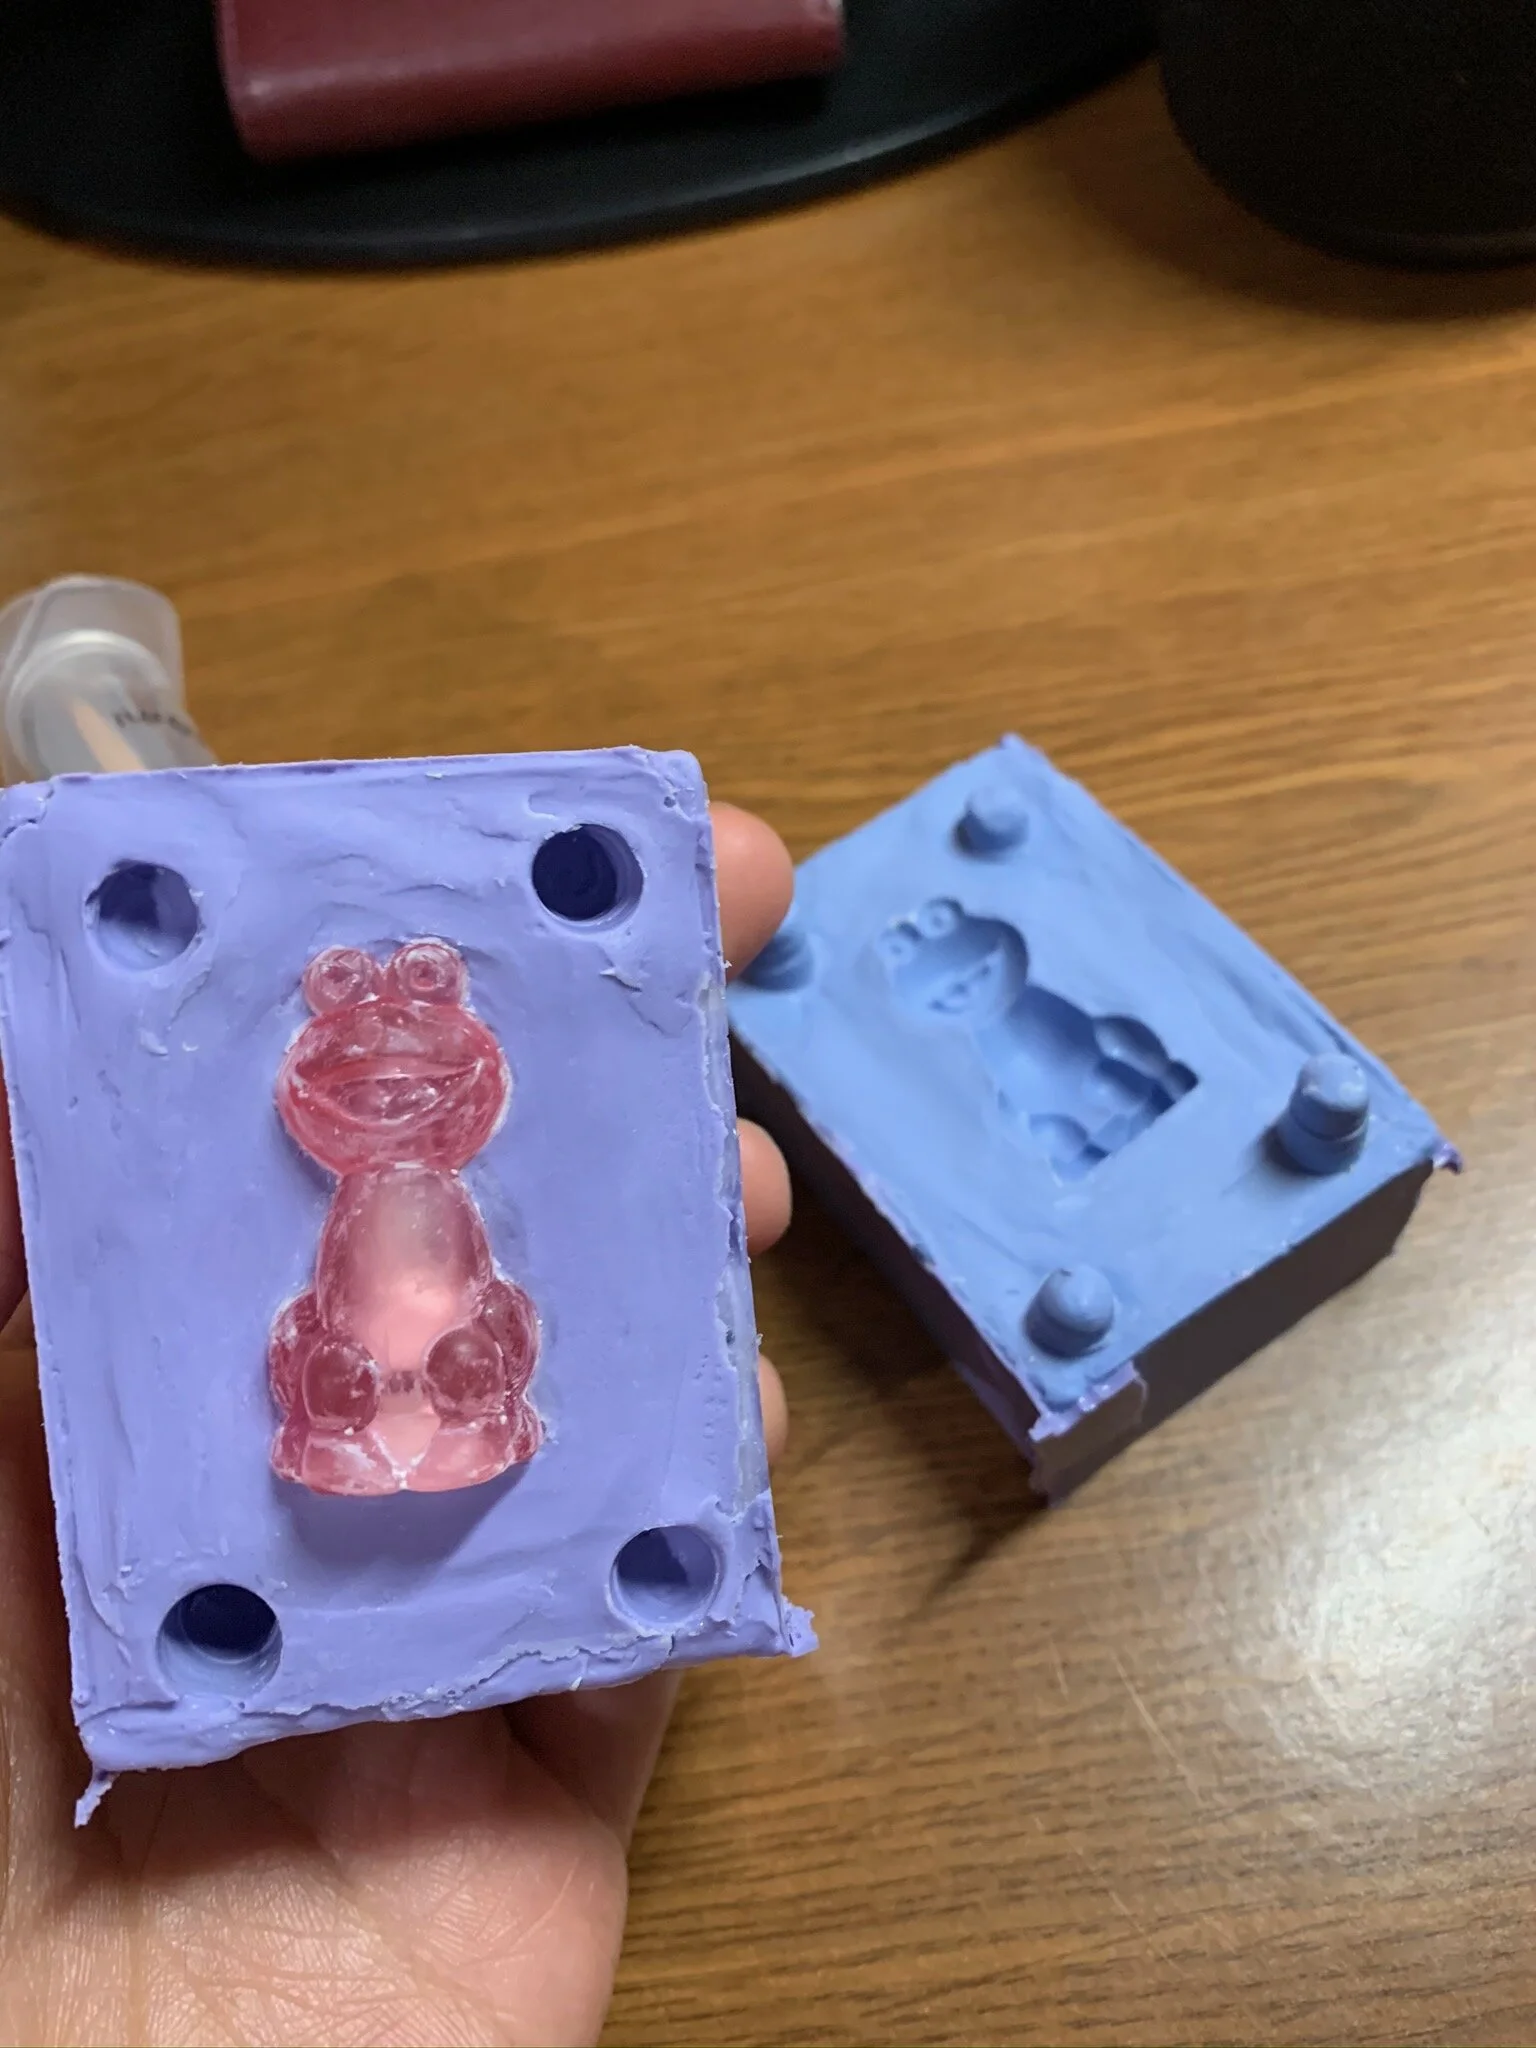
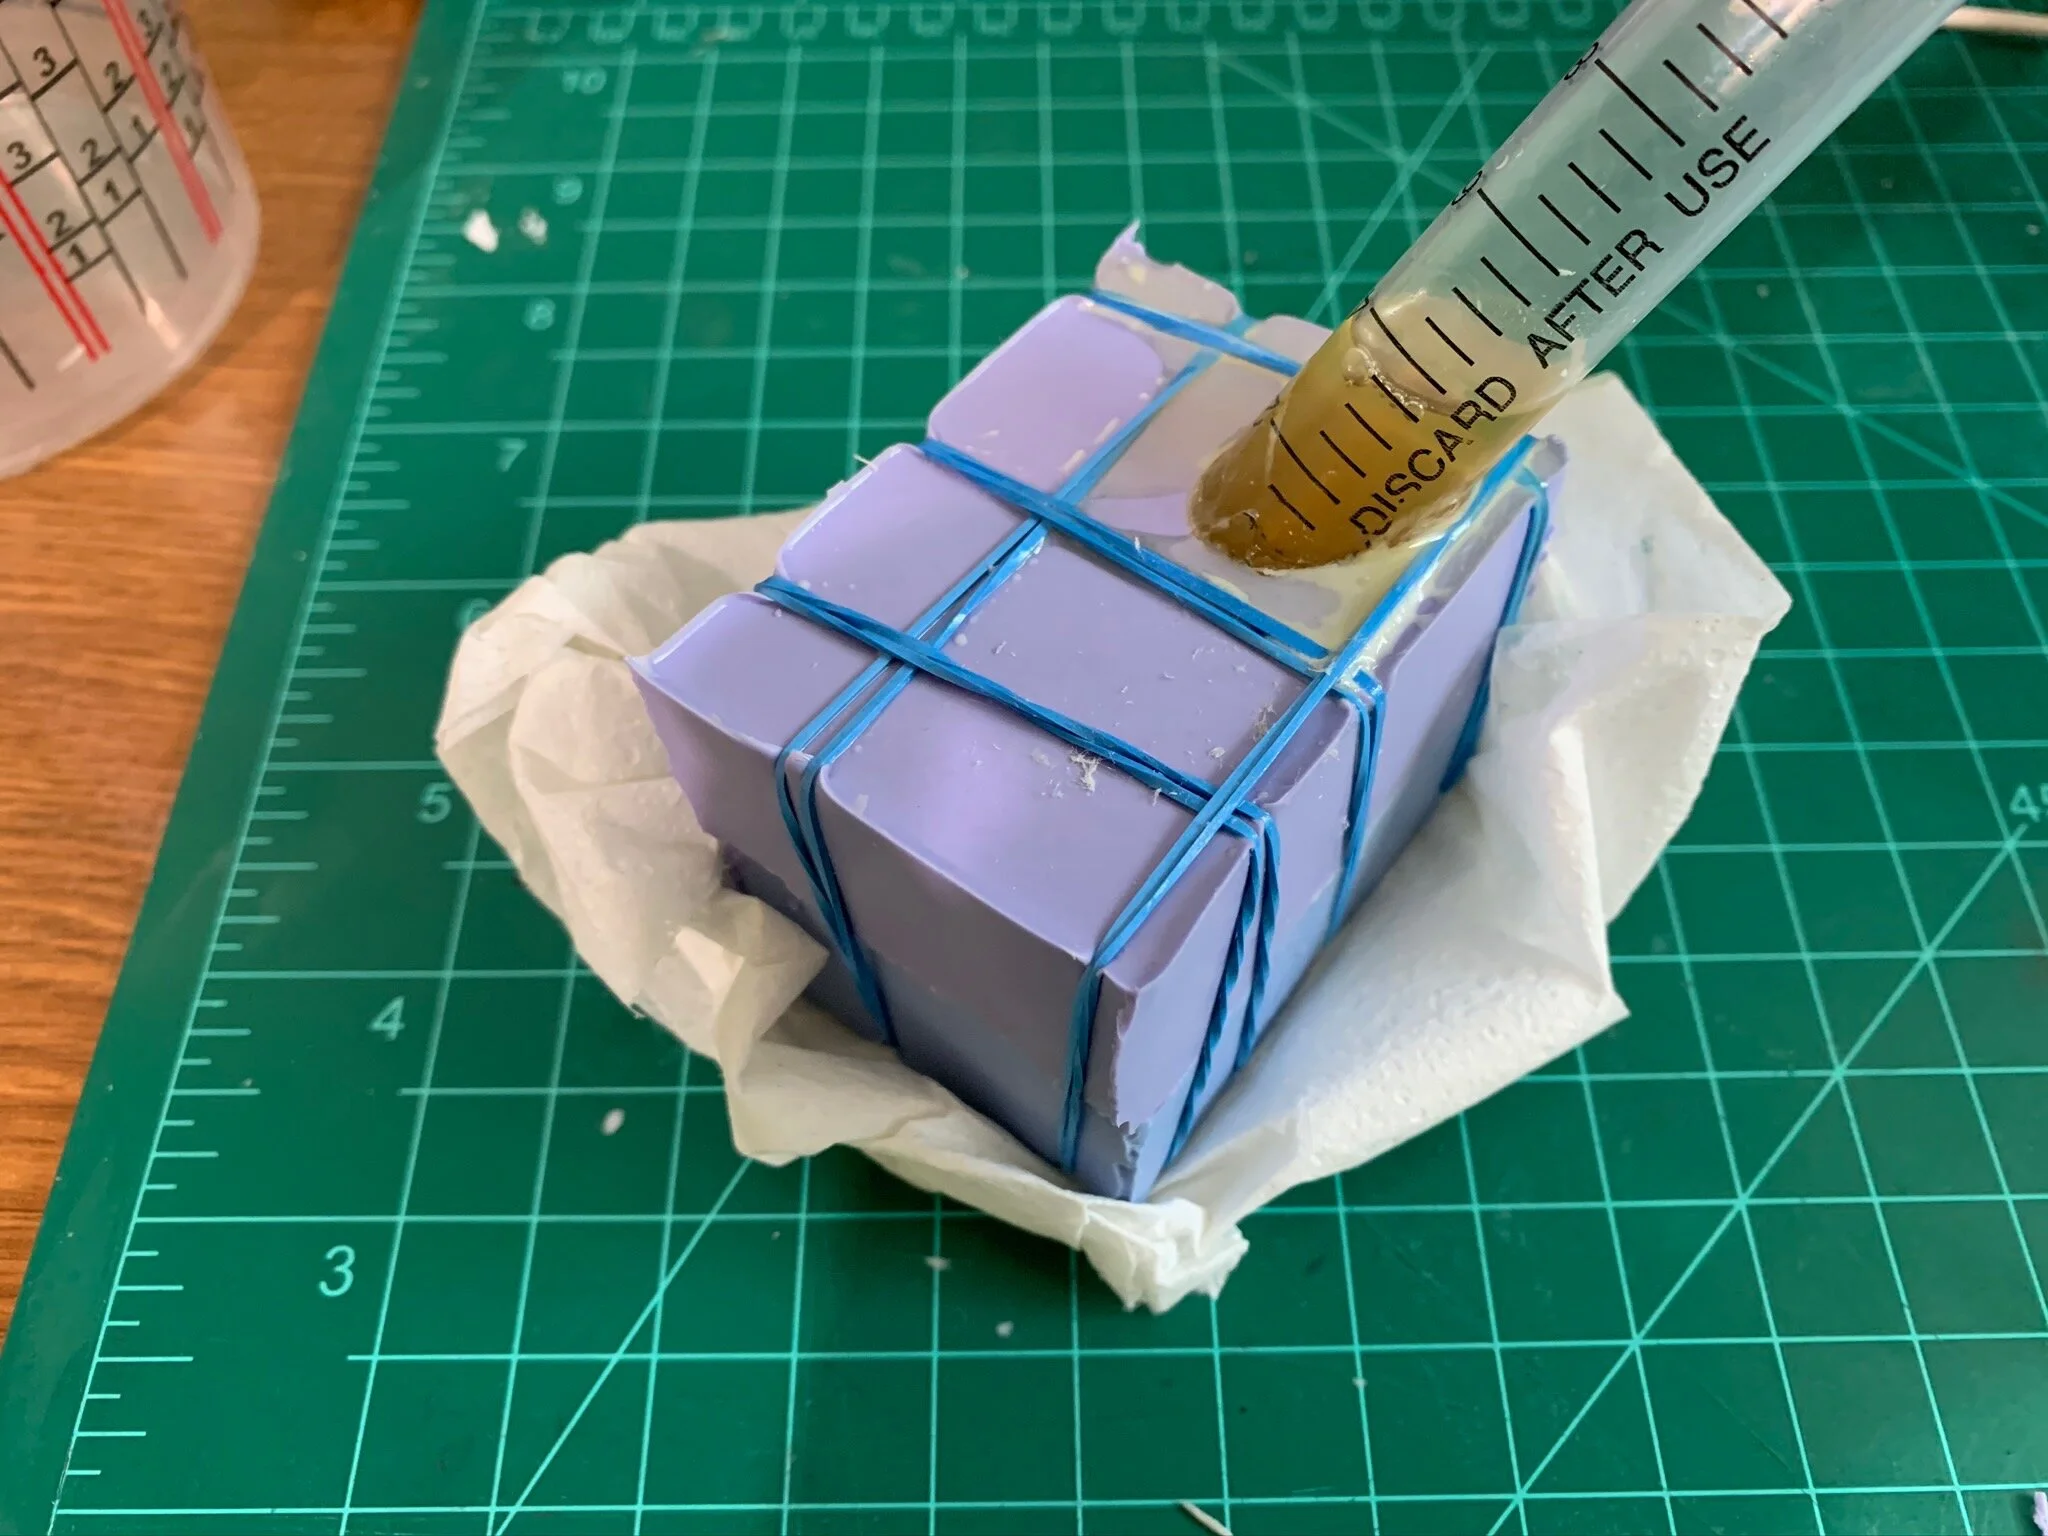
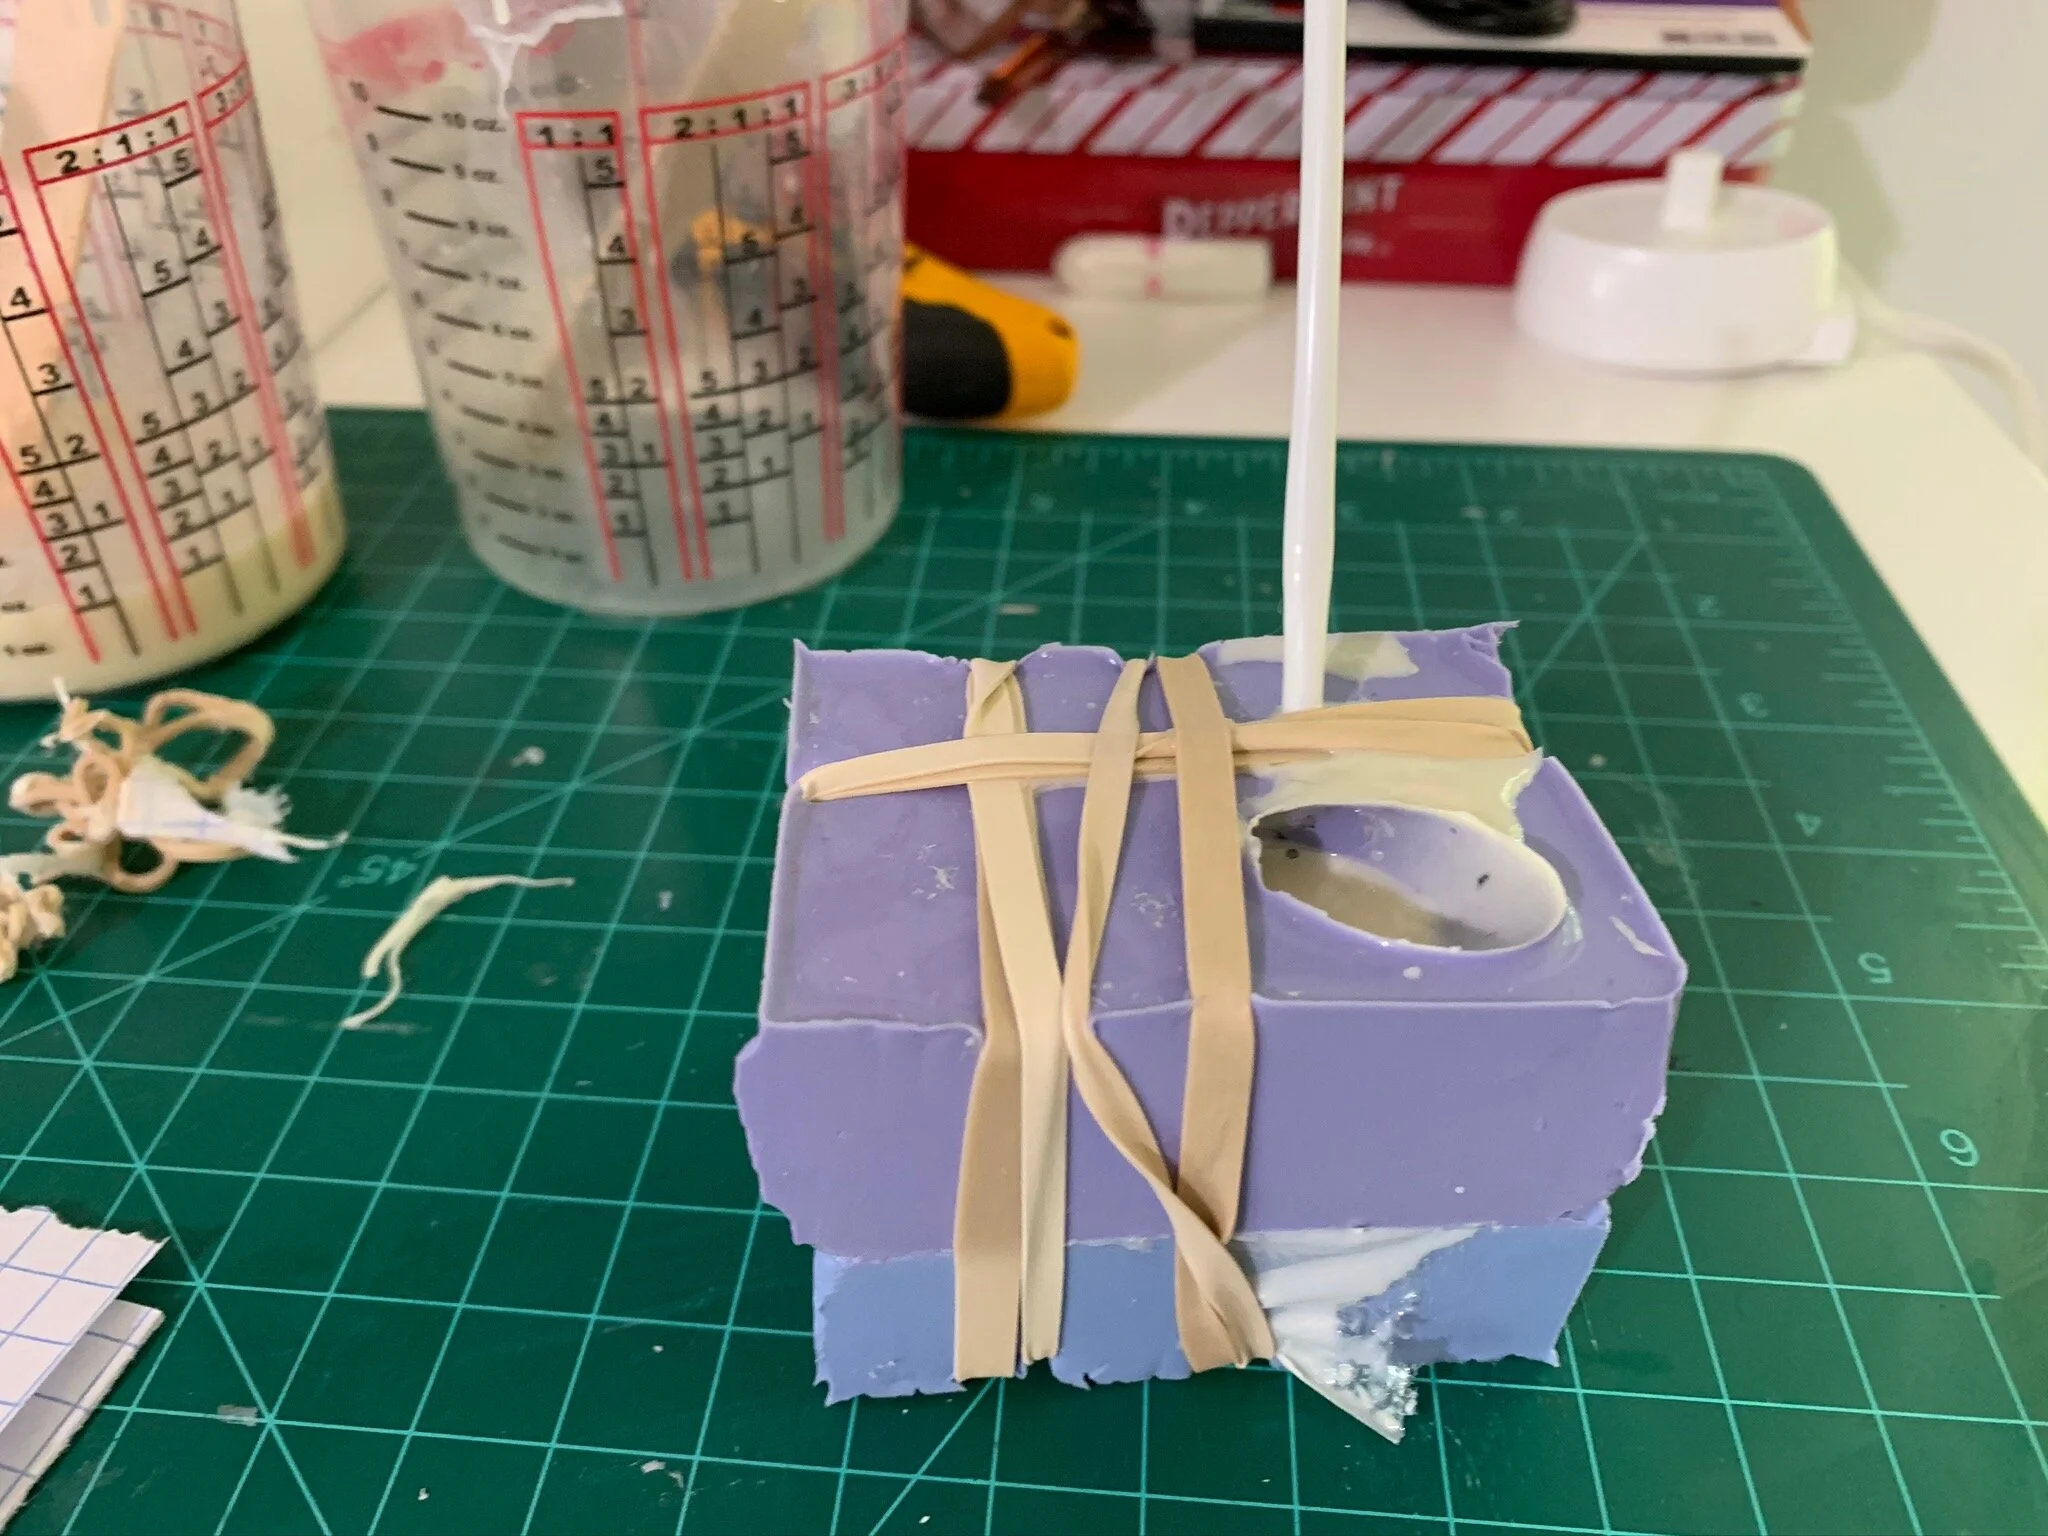
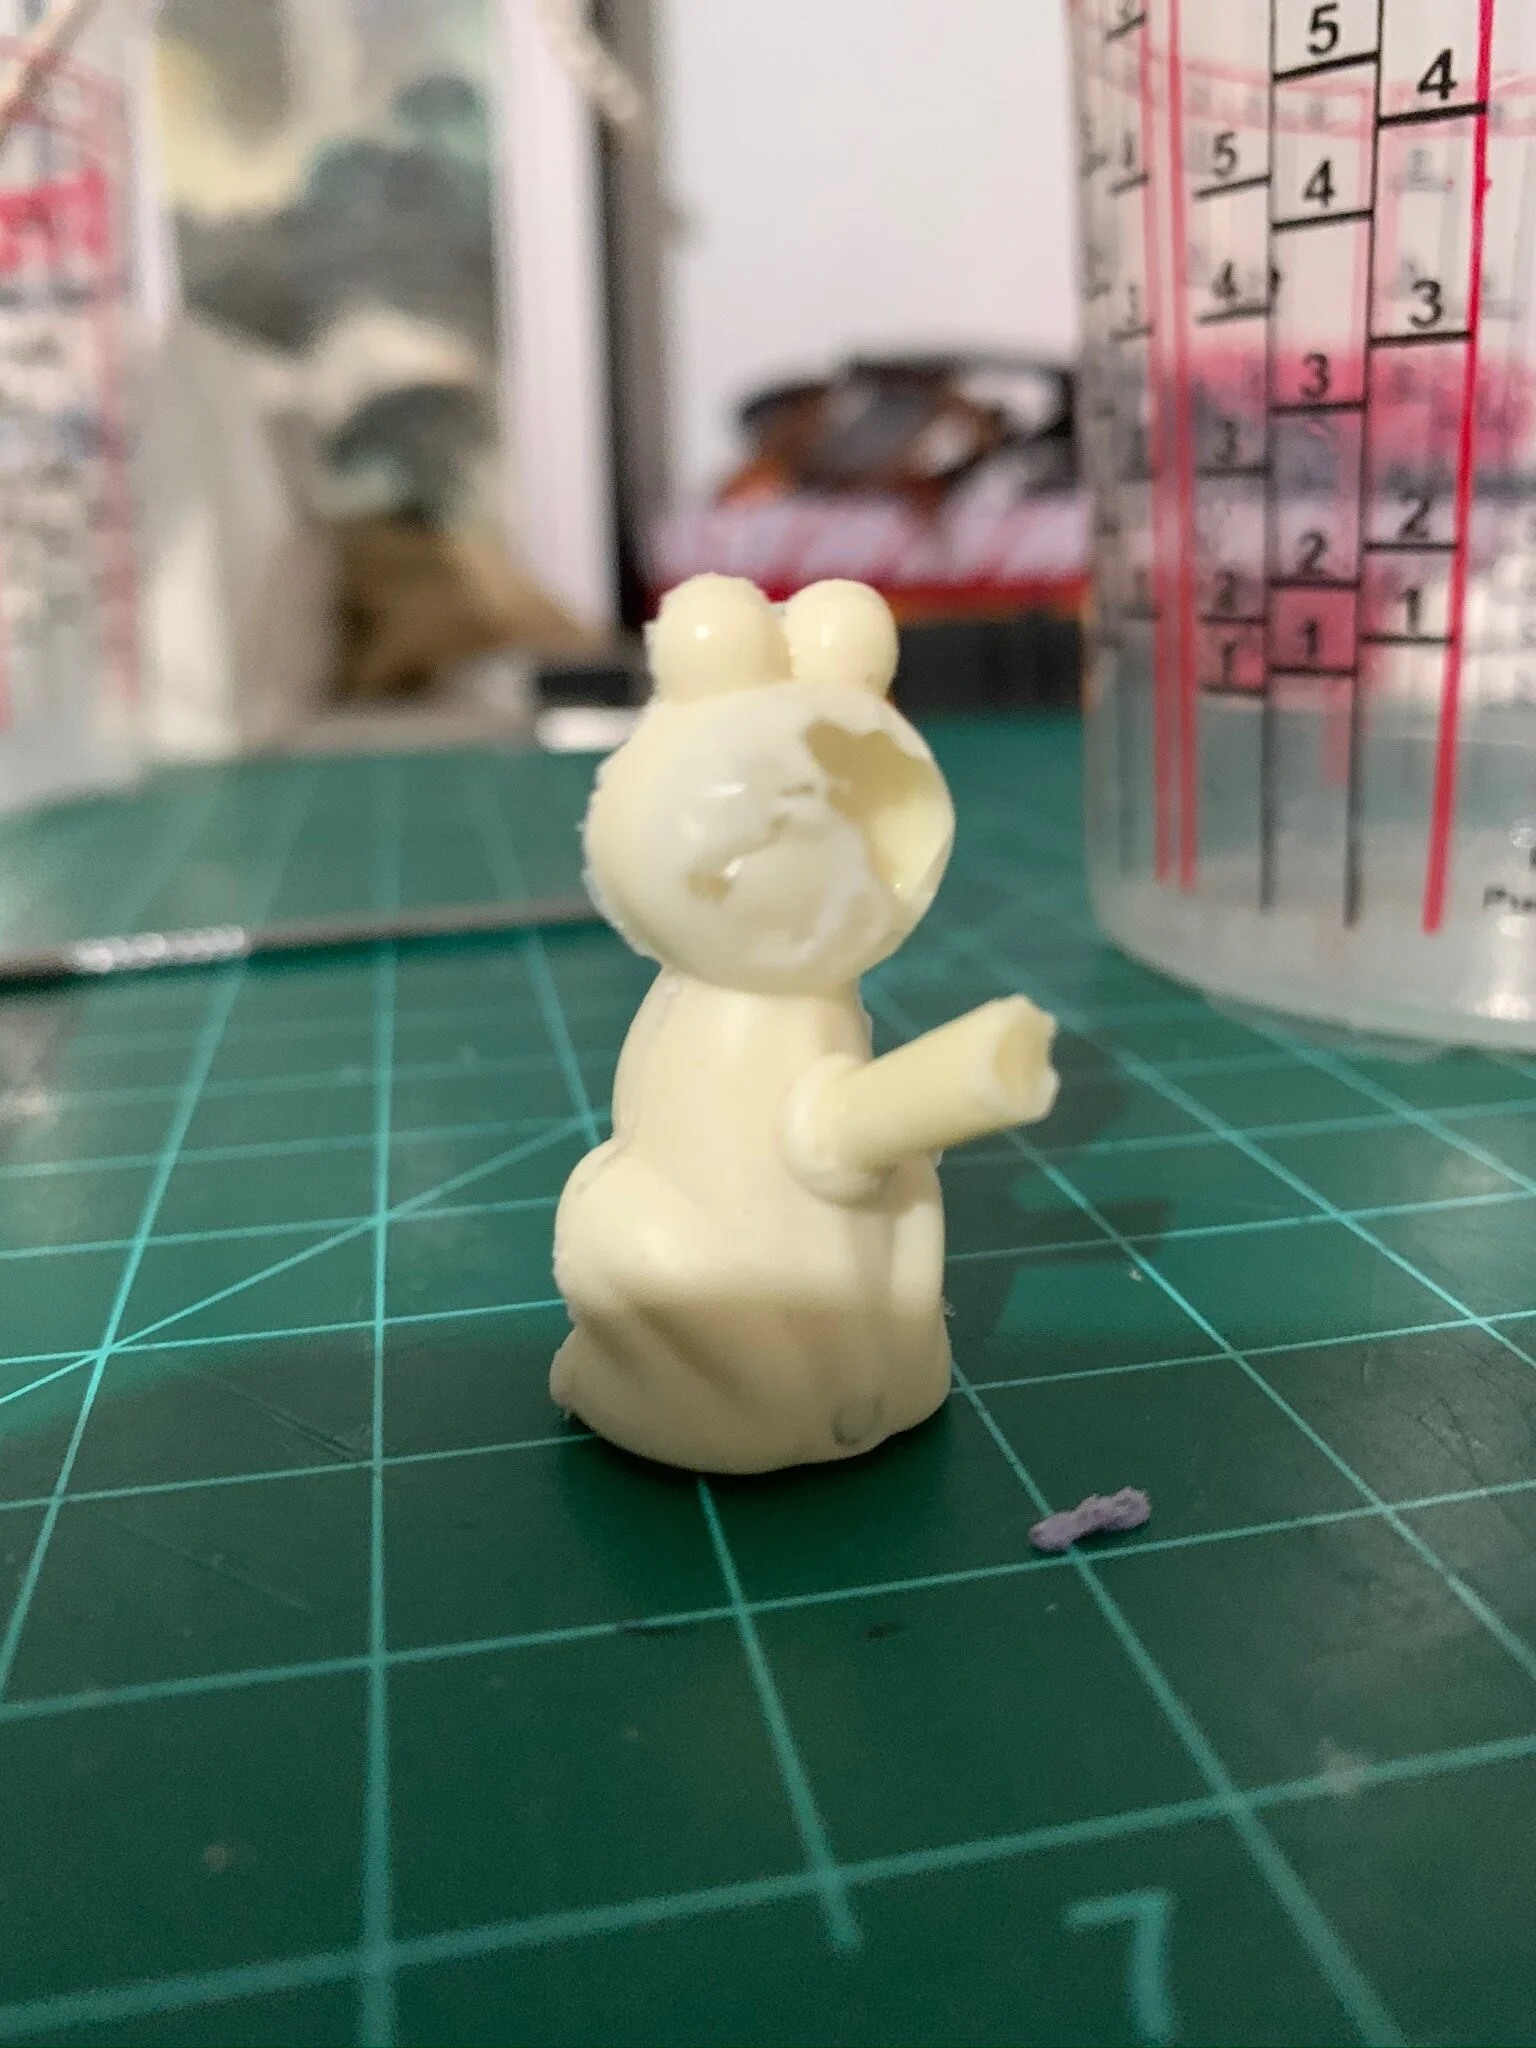
My first 2 castings had a large hole in the back of the head. I tried varying the pouring techniques I used for the plastic, but there were still large flaws in the part. For my third casting, I added a vent hole at the highest point of the head, allowing air to flow out of the mold when displaced by plastic. After some sanding to remove the excess plastic near the injection point, it was closely resembled the original piece.